Use a combination of wide apertures, long focal lengths and close viewpoints to create a shallow depth of field. Try to compose the out-of-focus areas as well.
1/100 sec, f/3.6, ISO 200, focal length 15mm
1/500, f/4.9, ISO 200, focal length 46mm
1/640 sec, f/4.6, ISO 200, focal length 37mm
1/500, f/5.4, ISO 200, focal length 84mm
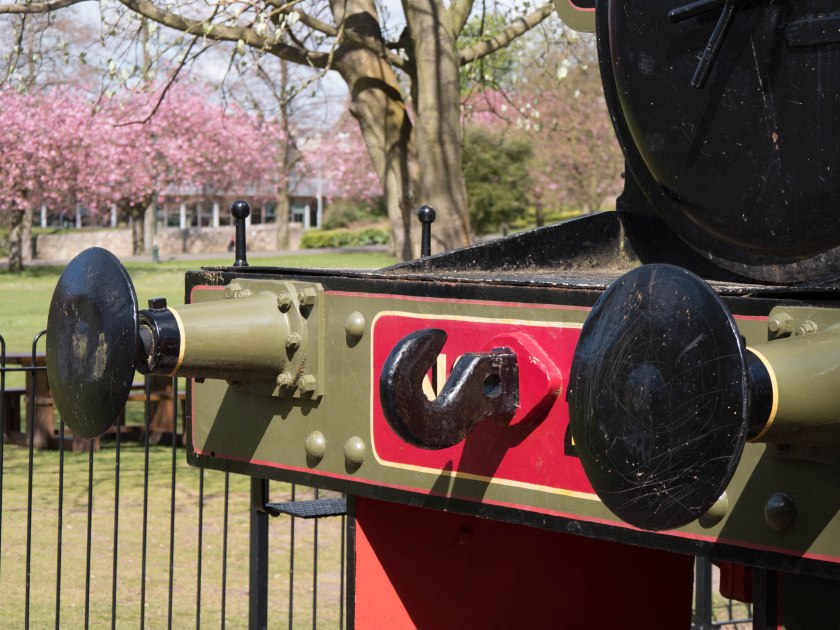
A selection of images of our local train. It doesn’t go anywhere, but the children love it. My preferred image is shown below, it gives just enough of the train for you to imagine what it is, and also shows the background, giving clues to the time of year and the park surroundings.
1/500, f/4.9, ISO 200, focal length 46mm
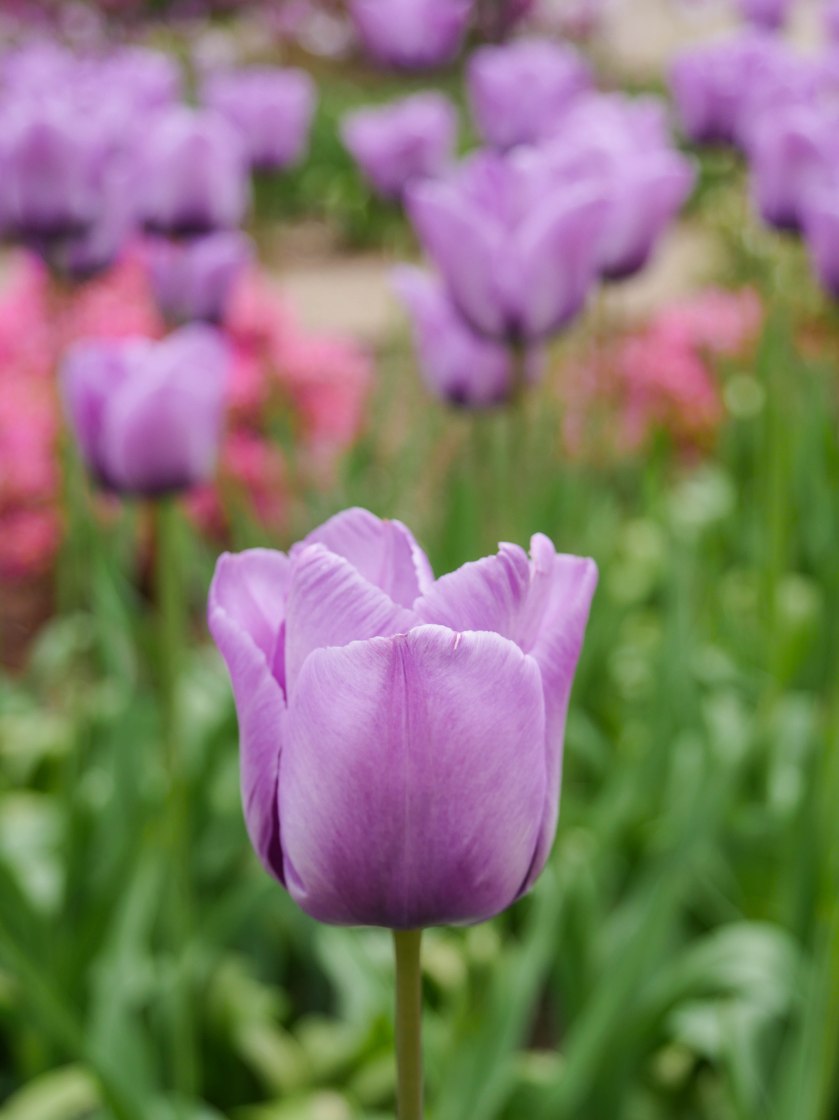
This is a technique I find very useful for botanical photographs.
1/640 sec, f/5.1, ISO 200, focal length 55mm
1/160, f/5.4, ISO55, focal length %%mm
1/400 sec, f/5.1, ISO200, focal length 55mm
1/320 sec, f/5.4, ISO200, focal length 73mm
My recent select from this type of images is below as I feel the background really adds to the picture:
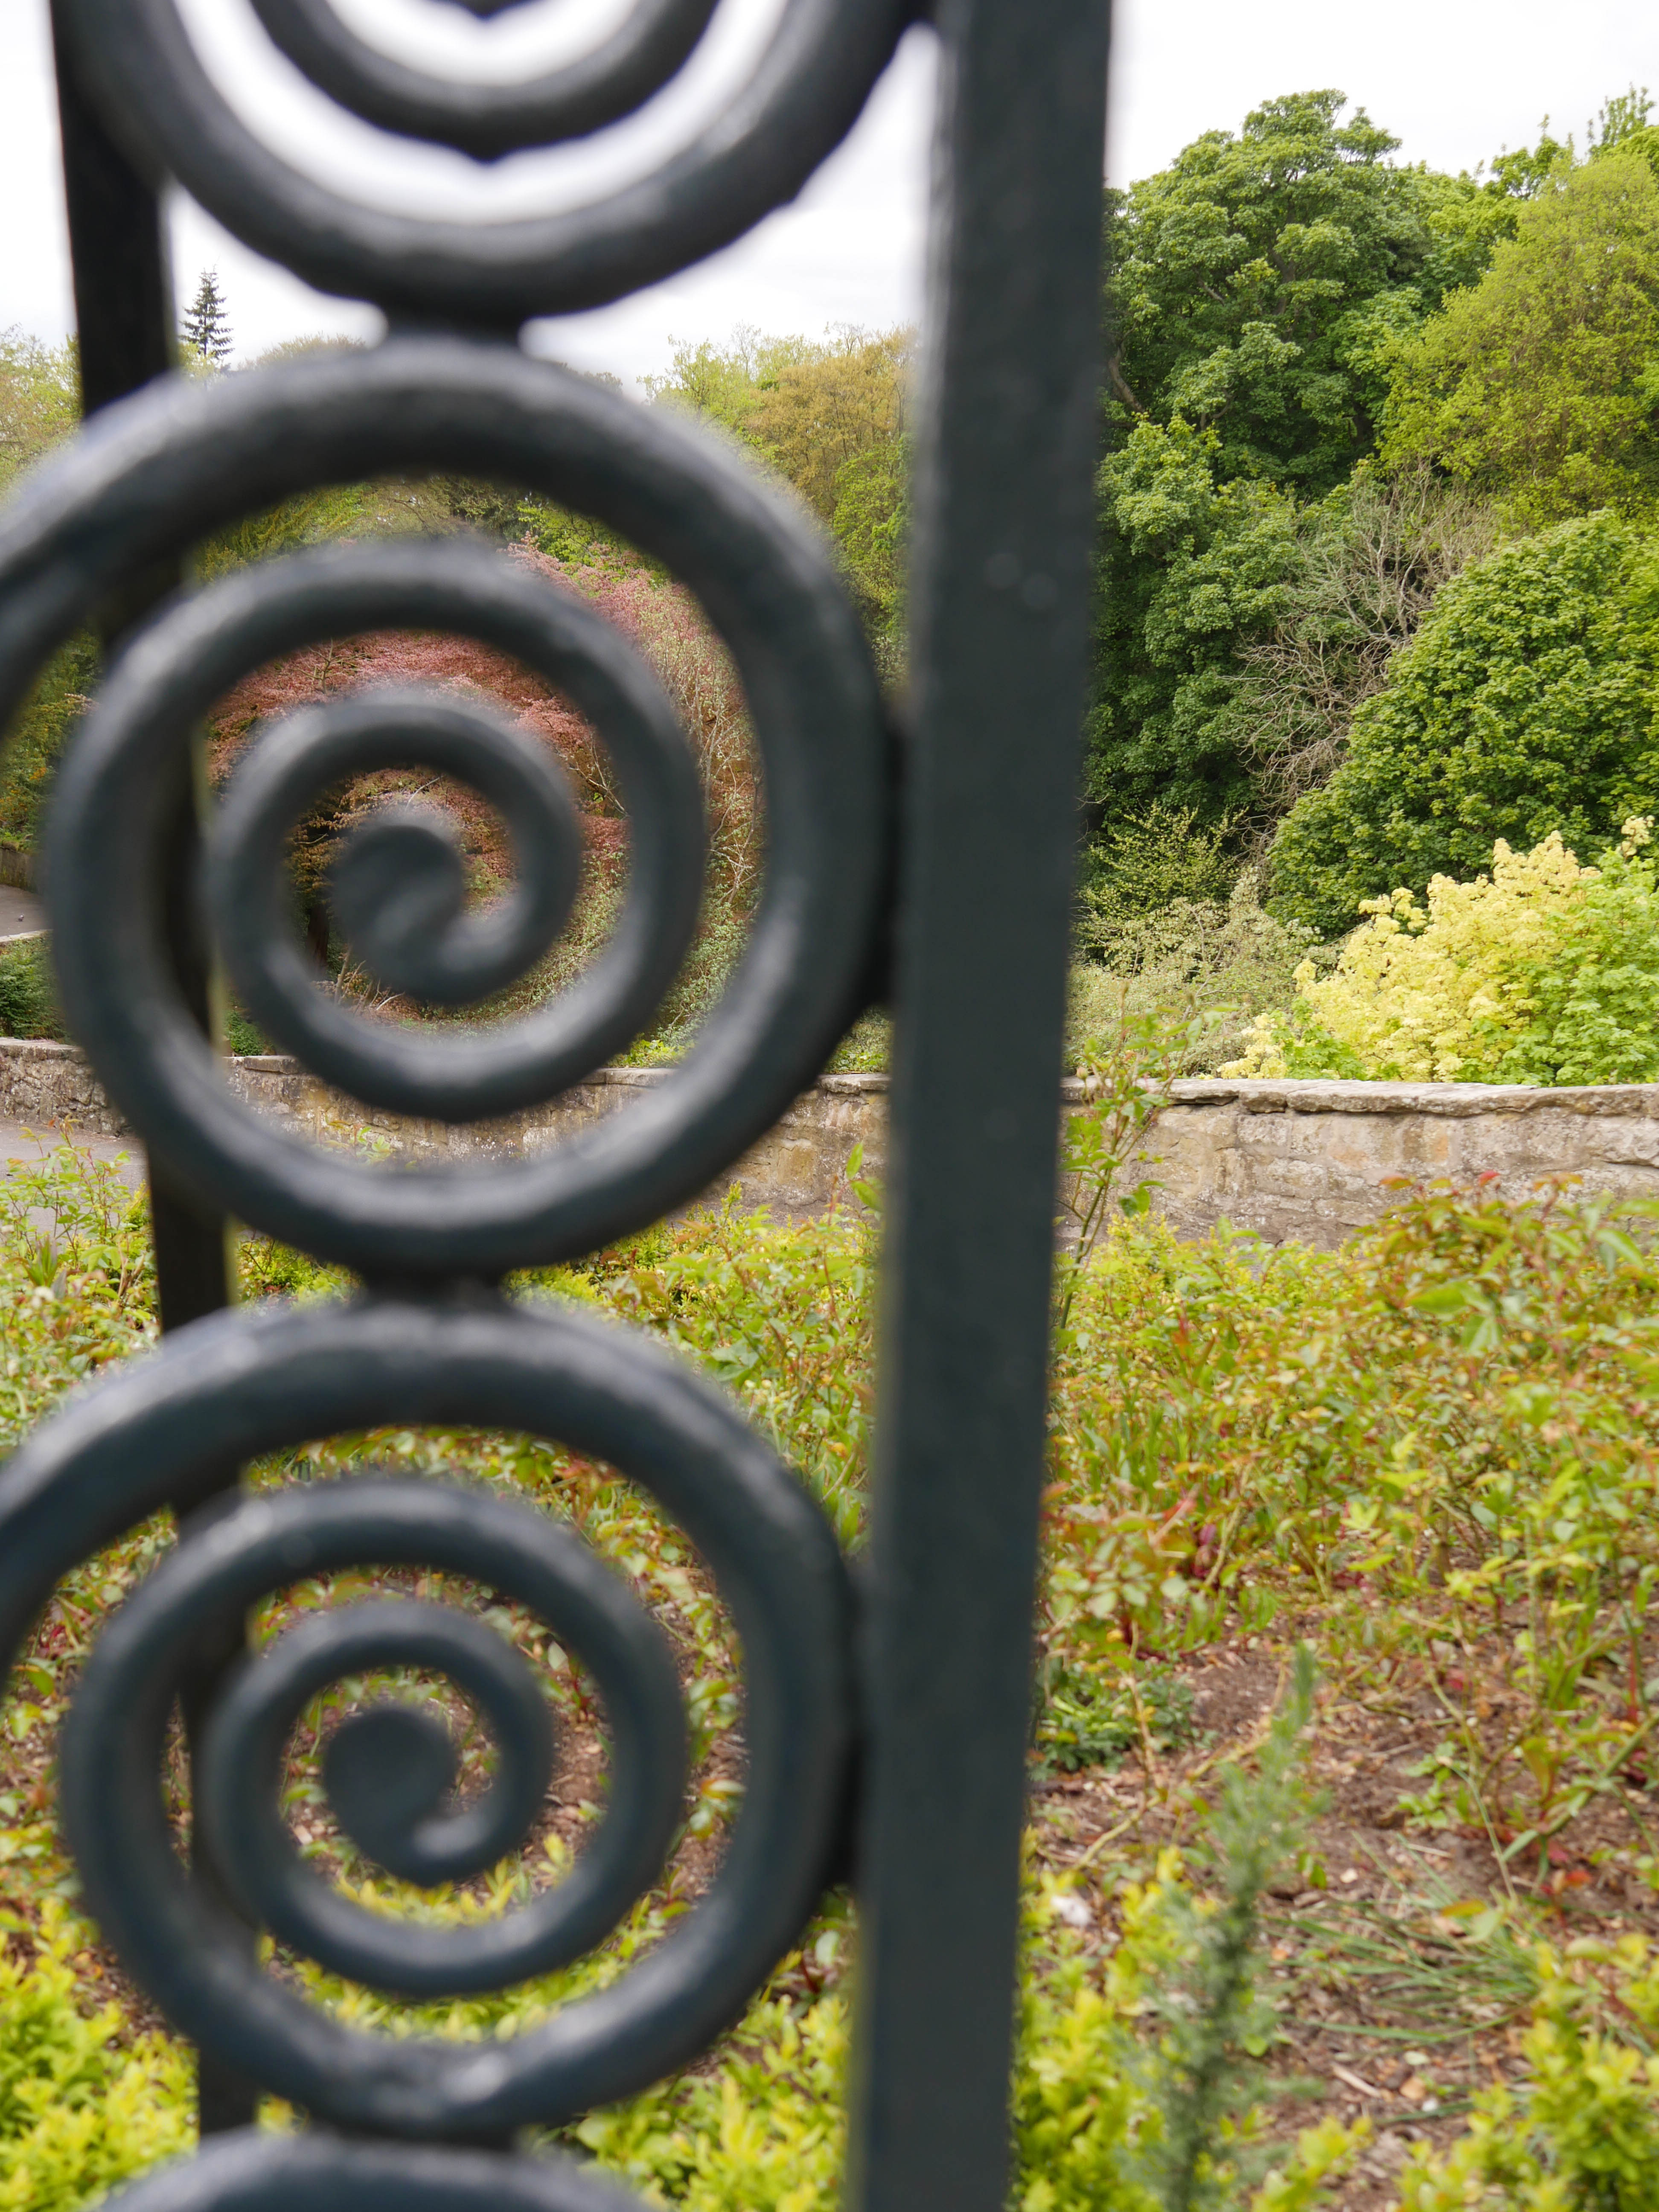
Find a subject in front of a background with depth. Take a close viewpoint and zoom in, focus on the subject and take an image, then focus on infinity and take a second shot.
I found this exercise more challenging than I expected. On my initial round of attempts I focused on the subject and obtained some pleasing images with the background out of focus, however when I moved the focus to infinity and then looked at the images I found that the background was out of focus as well as the subject image. On looking and thinking it became apparent that my ‘background’ was not far enough away to register as infinity for the camera lens, and therefore was out of focus. I am very used to focusing close-up on botanical subjects, but had not really considered the distance away of the background as all I had wanted to do was throw it out of focus which was not the object of this exercise. I went out again and took another round of examples. It is a good thing I am using a digital camera as the only ‘cost’ is time and footwear!
The final images were:
1/320 sec, f/4.9, ISO 200, focal length 24mm
1/320 sec, f/4.9, ISO 200, focal length 24mm
1/250 sec, f/4.9, ISO200, focal length 21mm
1/250 sec, f/4.9, ISO 200, focal length 21mm
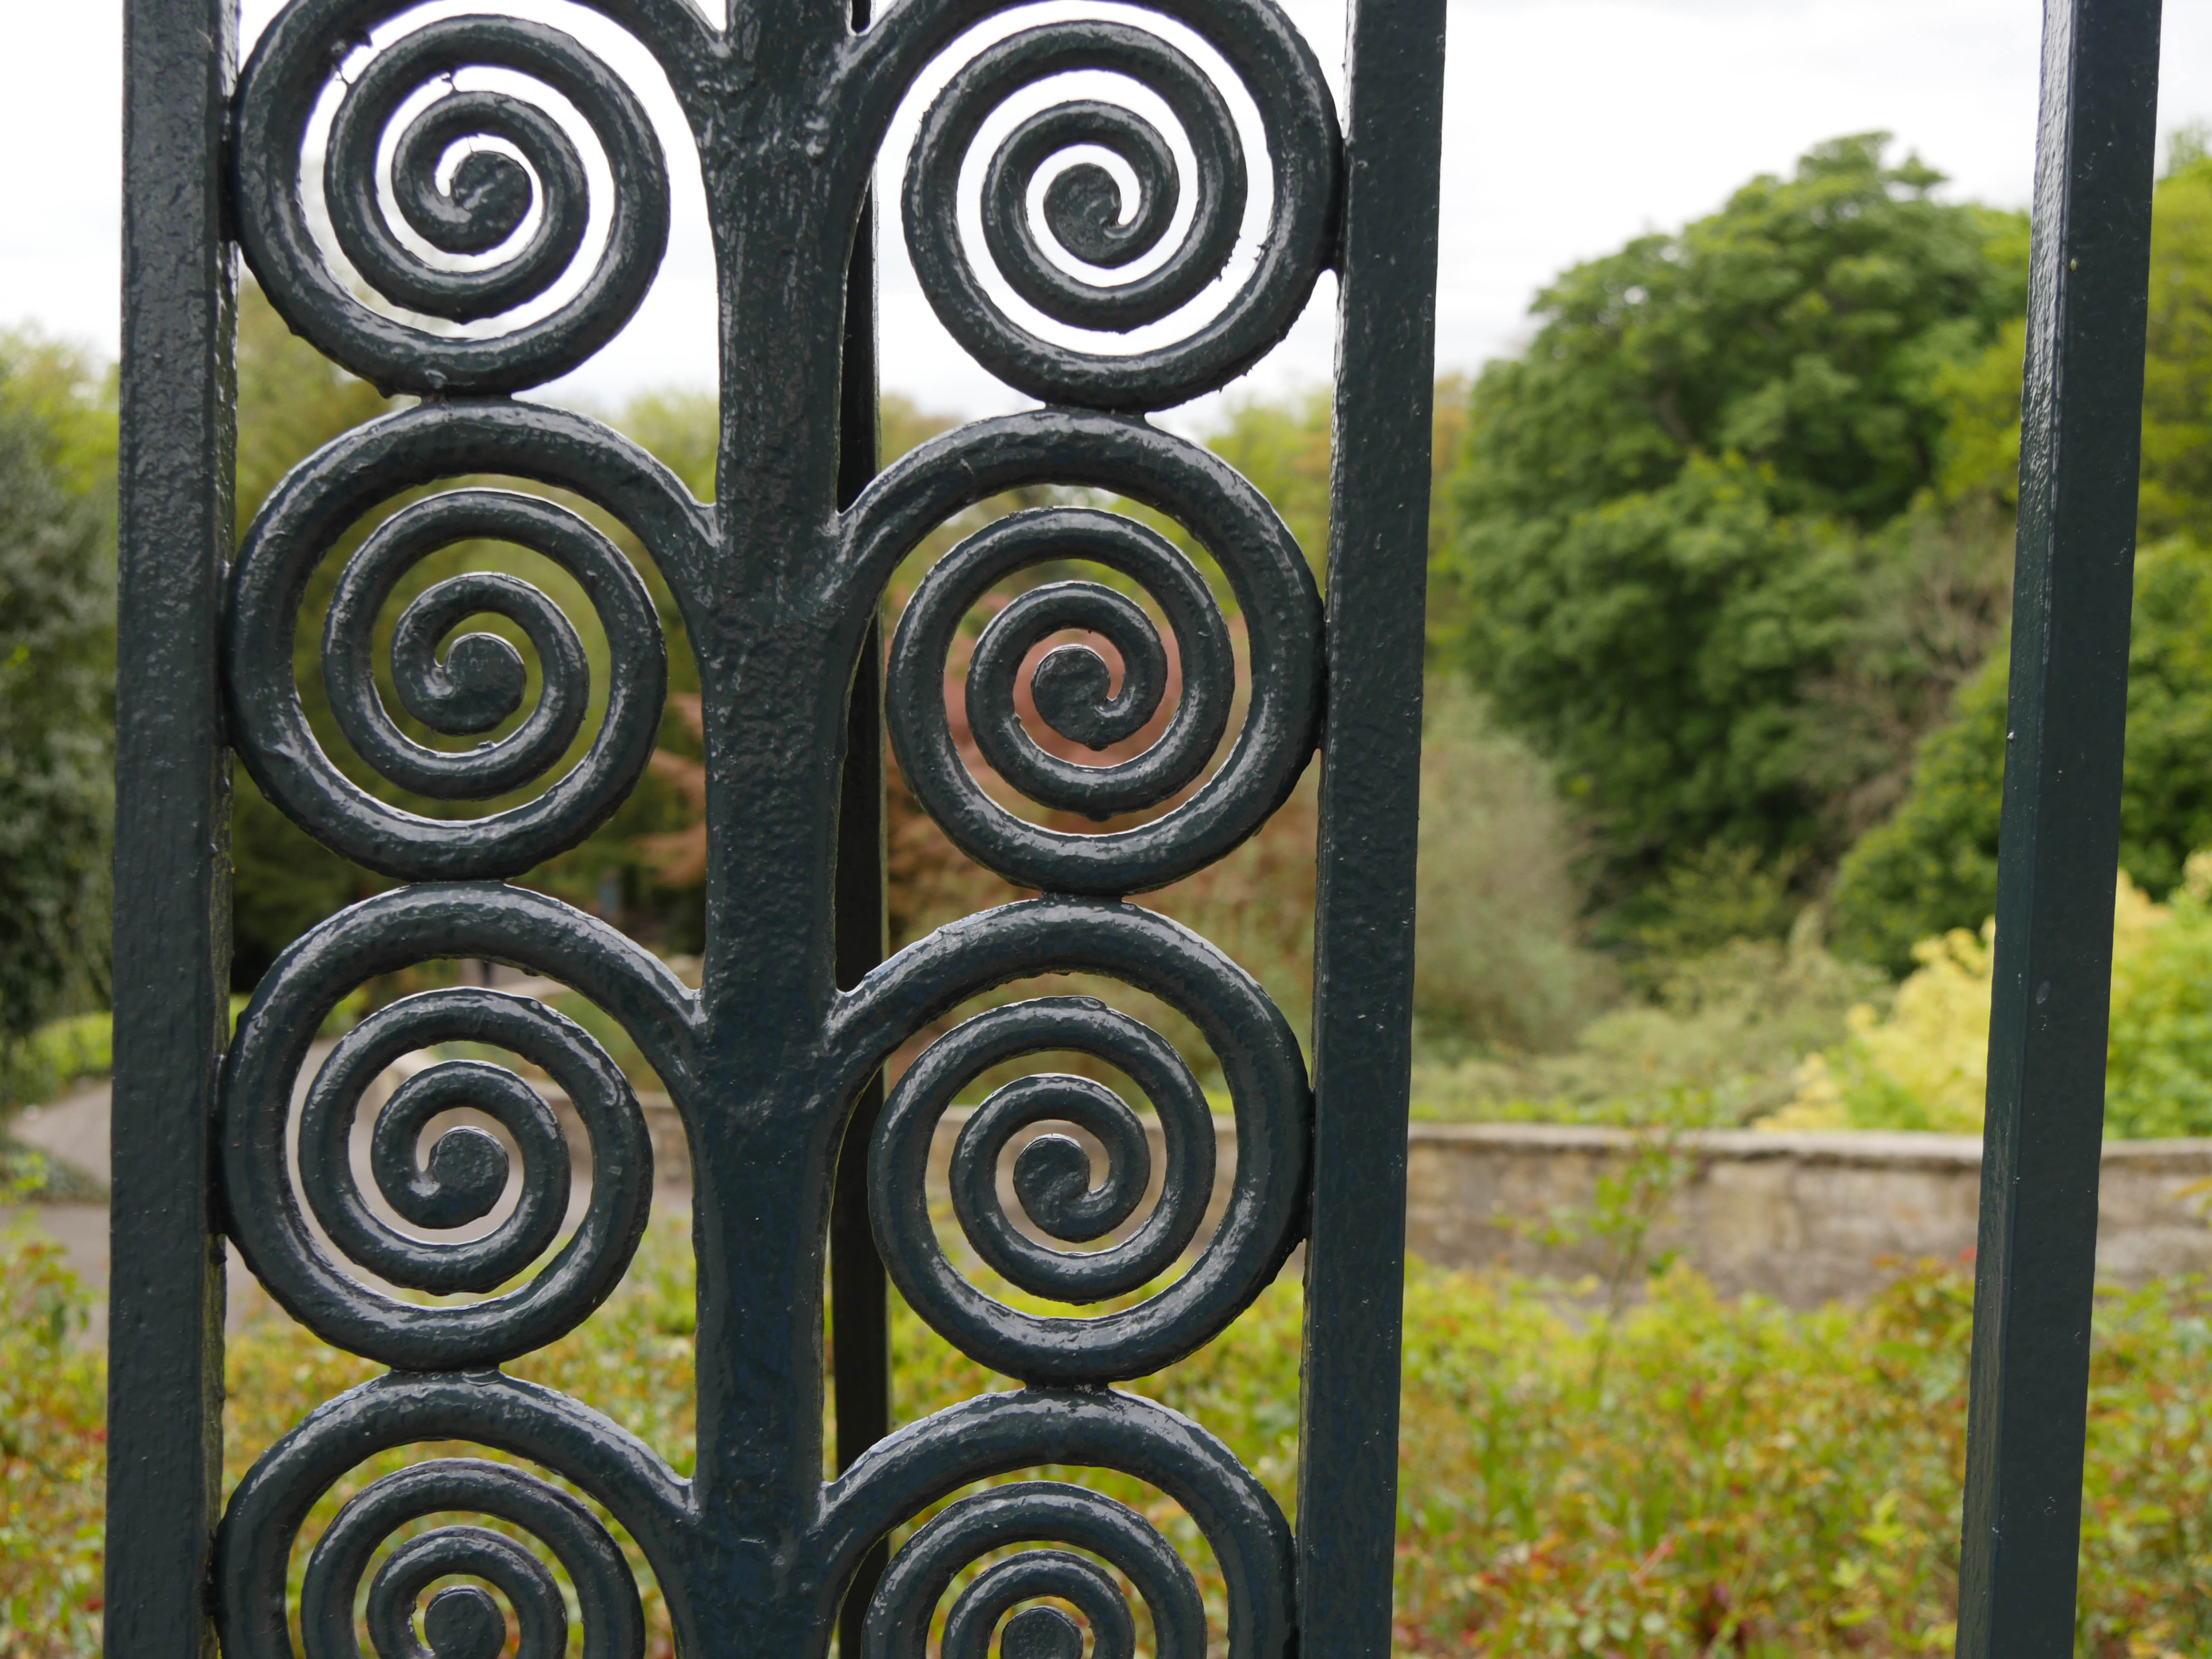
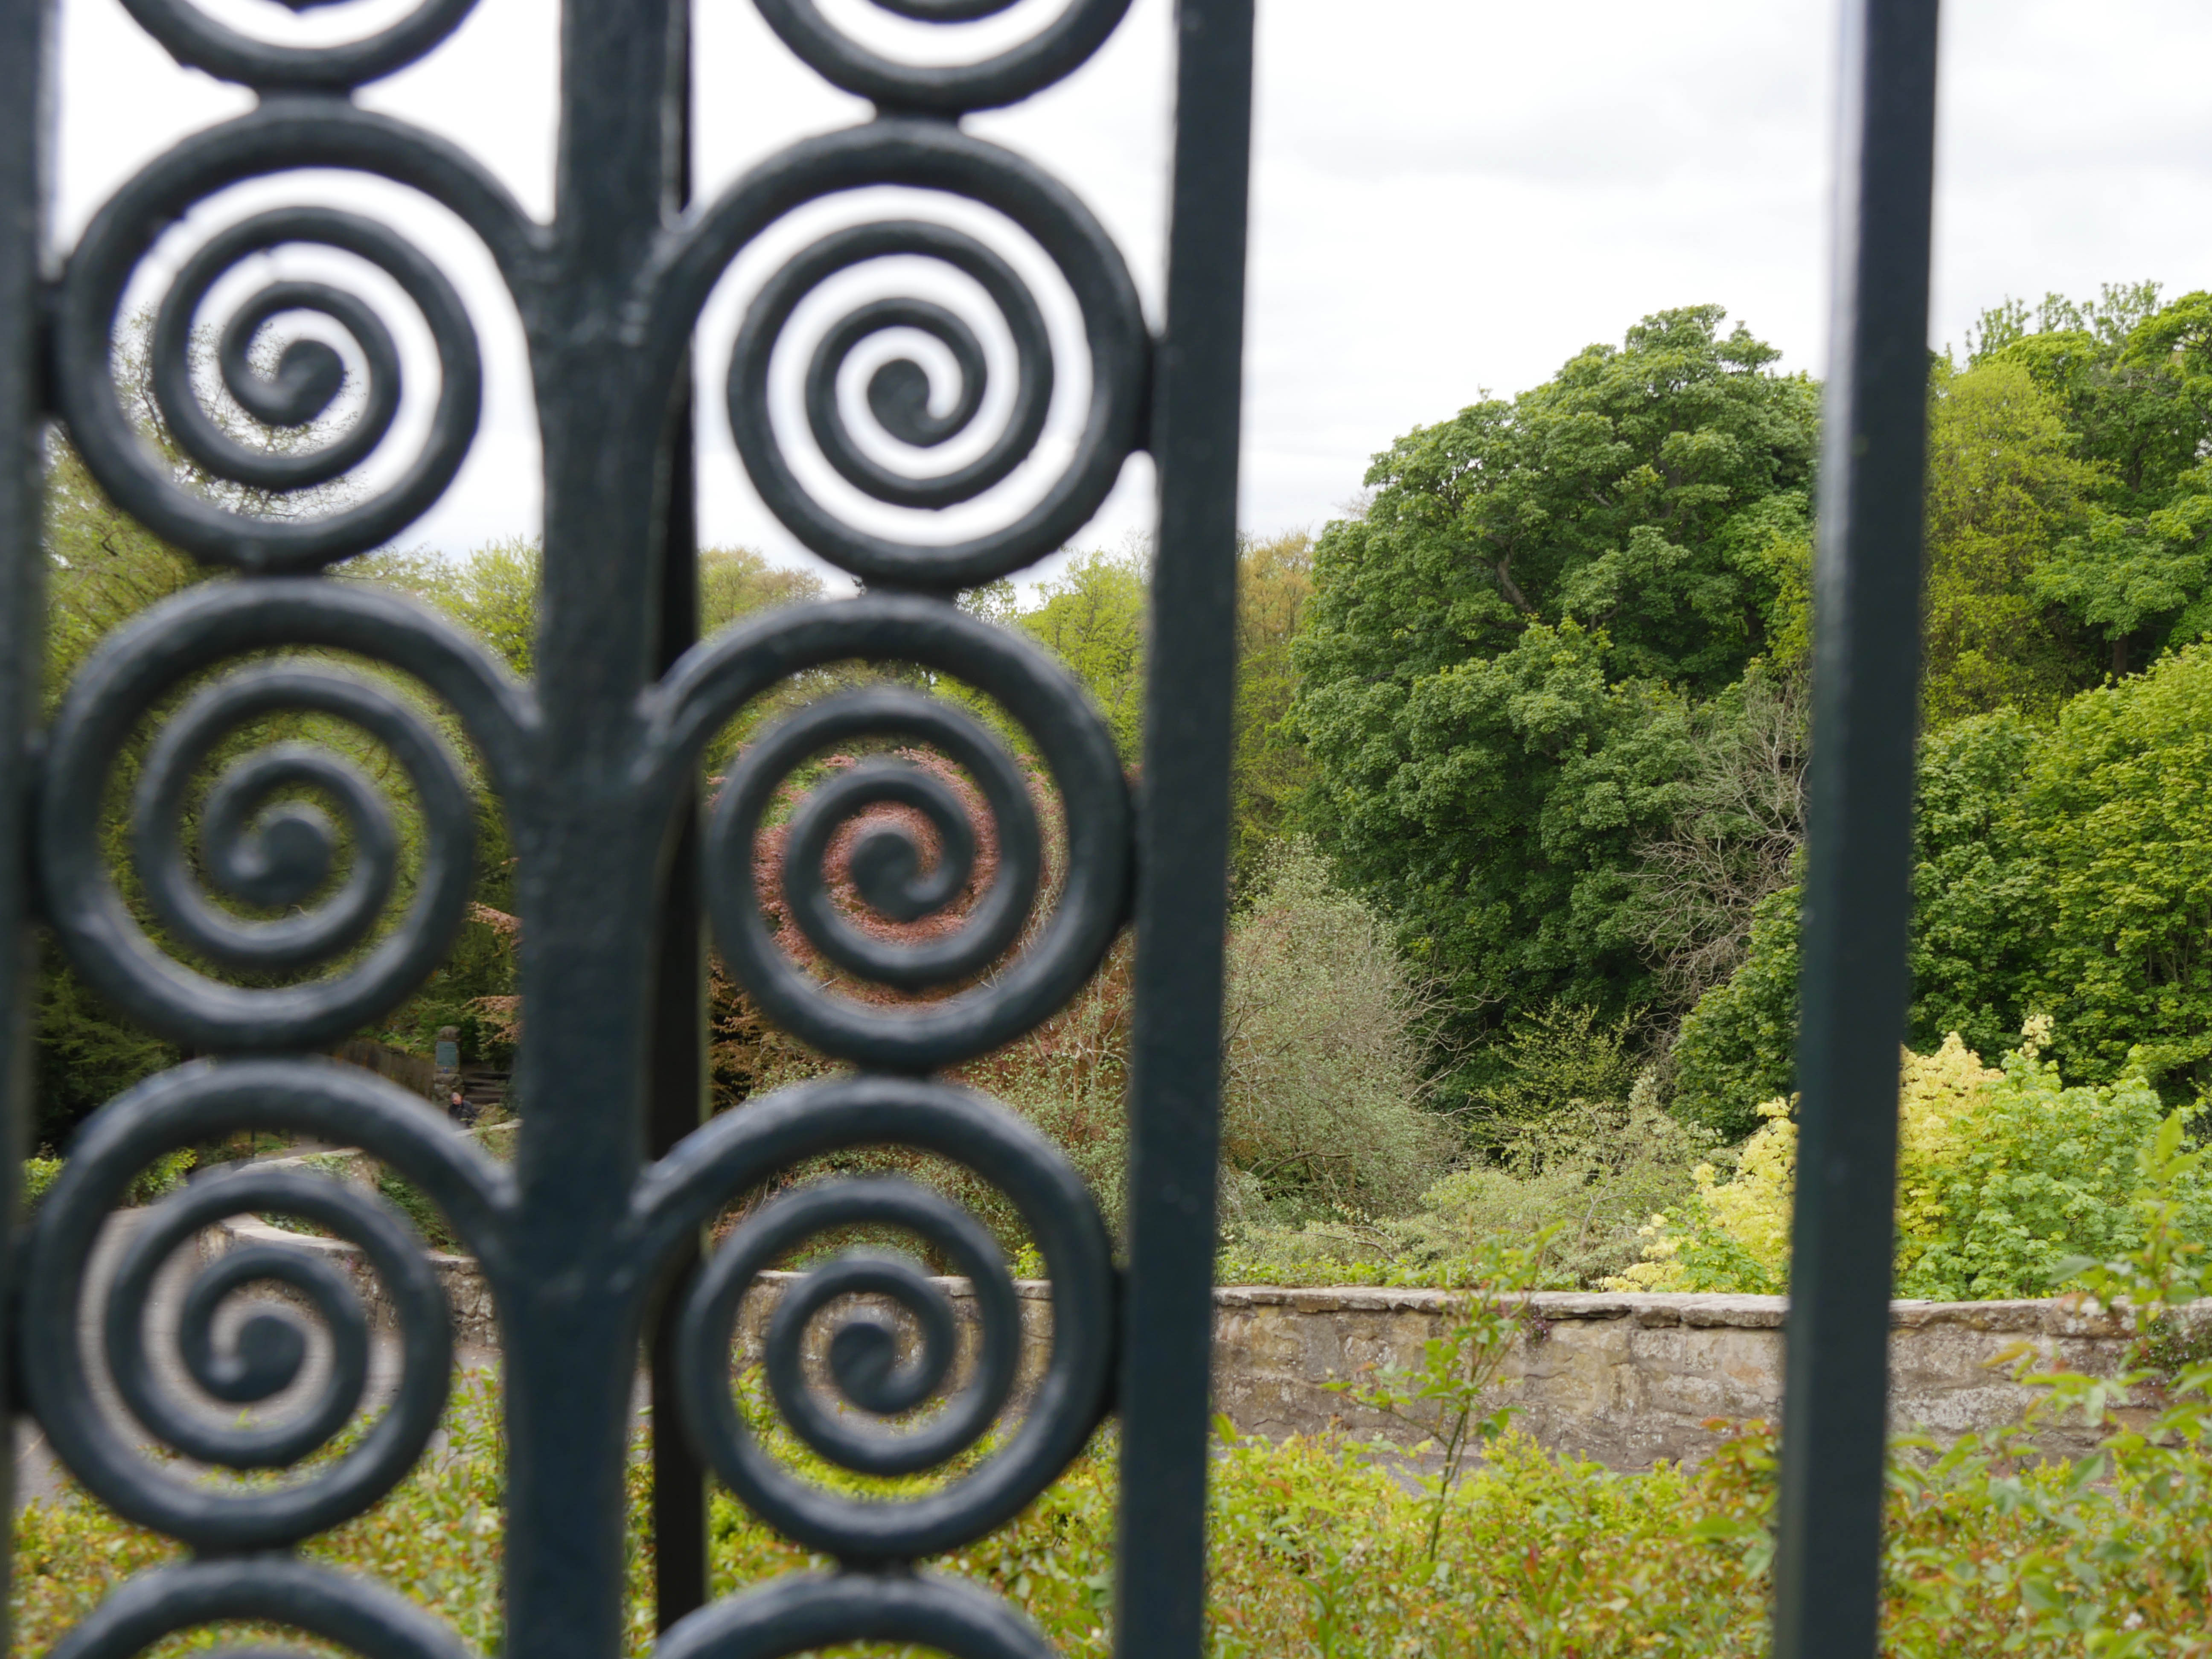
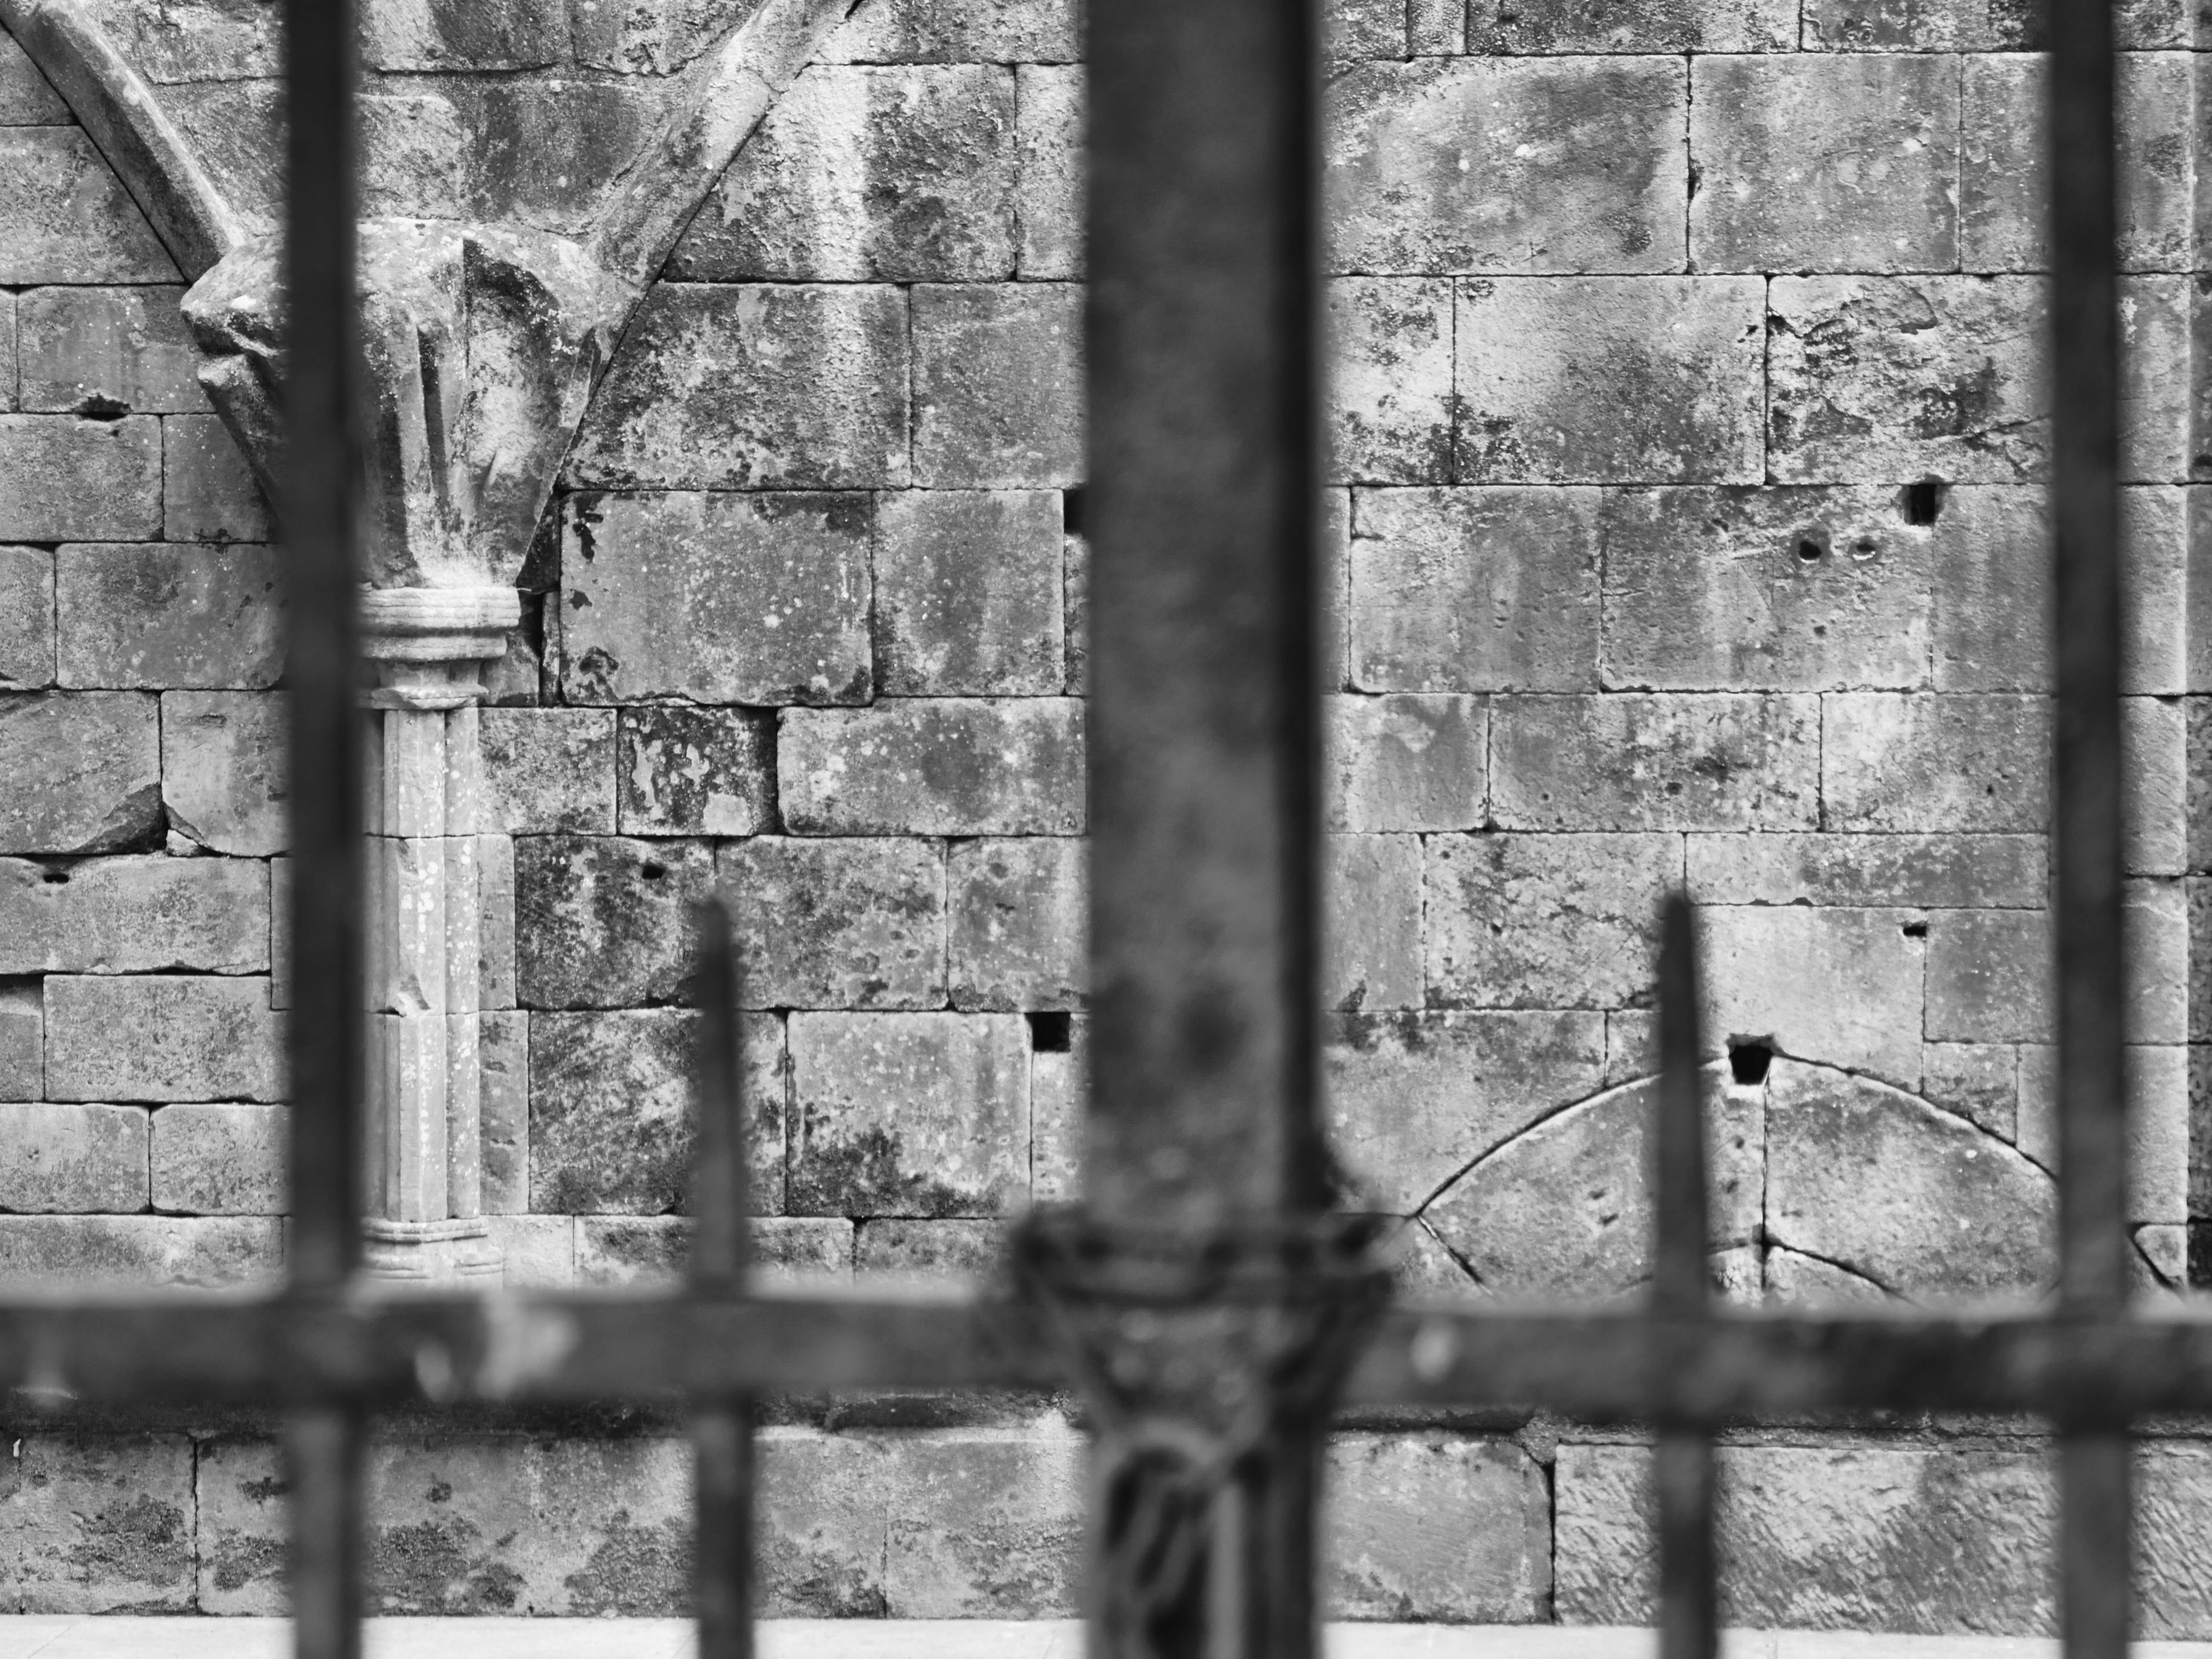
I find the most pleasing images in these sets are the ones where the focus is on the subject (the ornamental railing) and that it gives a somewhat disconcerting image when the near object, that the eye automatically travels to, is out of focus. However, I experimented further:
1/640 sec, f/4.9, ISO 200, focal length 46mm
1/640 sec, f/4.9, ISO 200, focal length 46mm
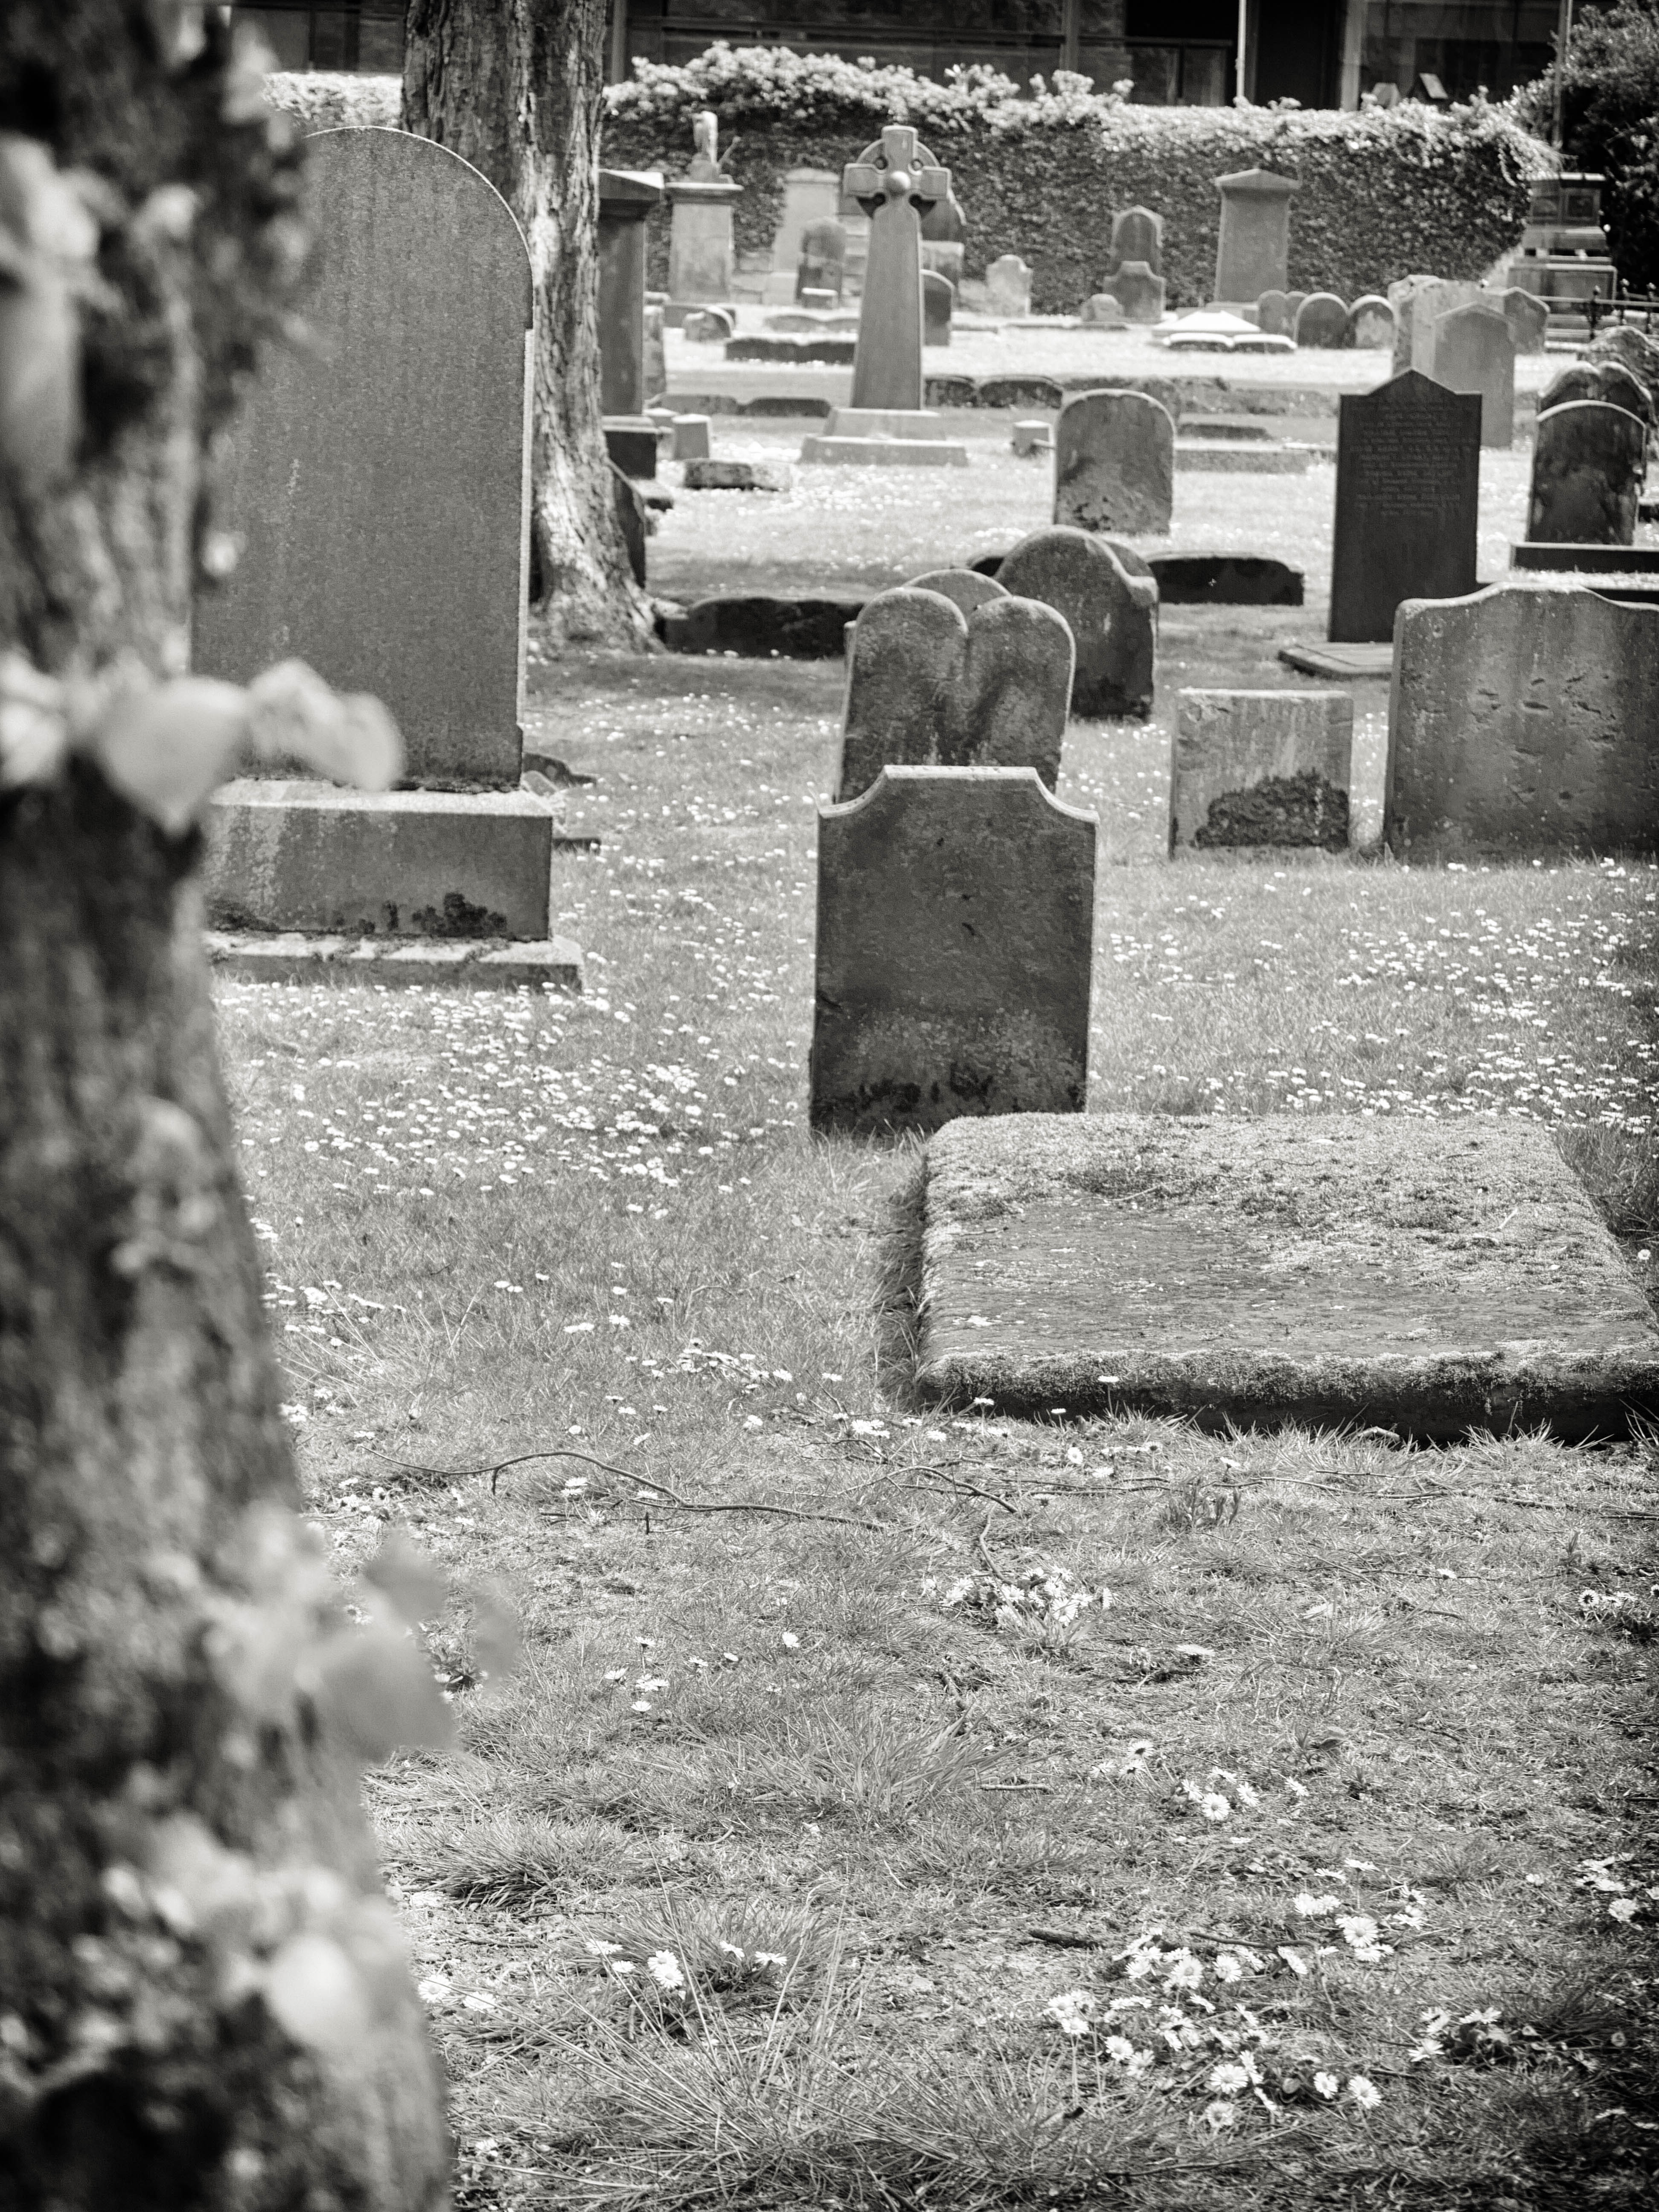
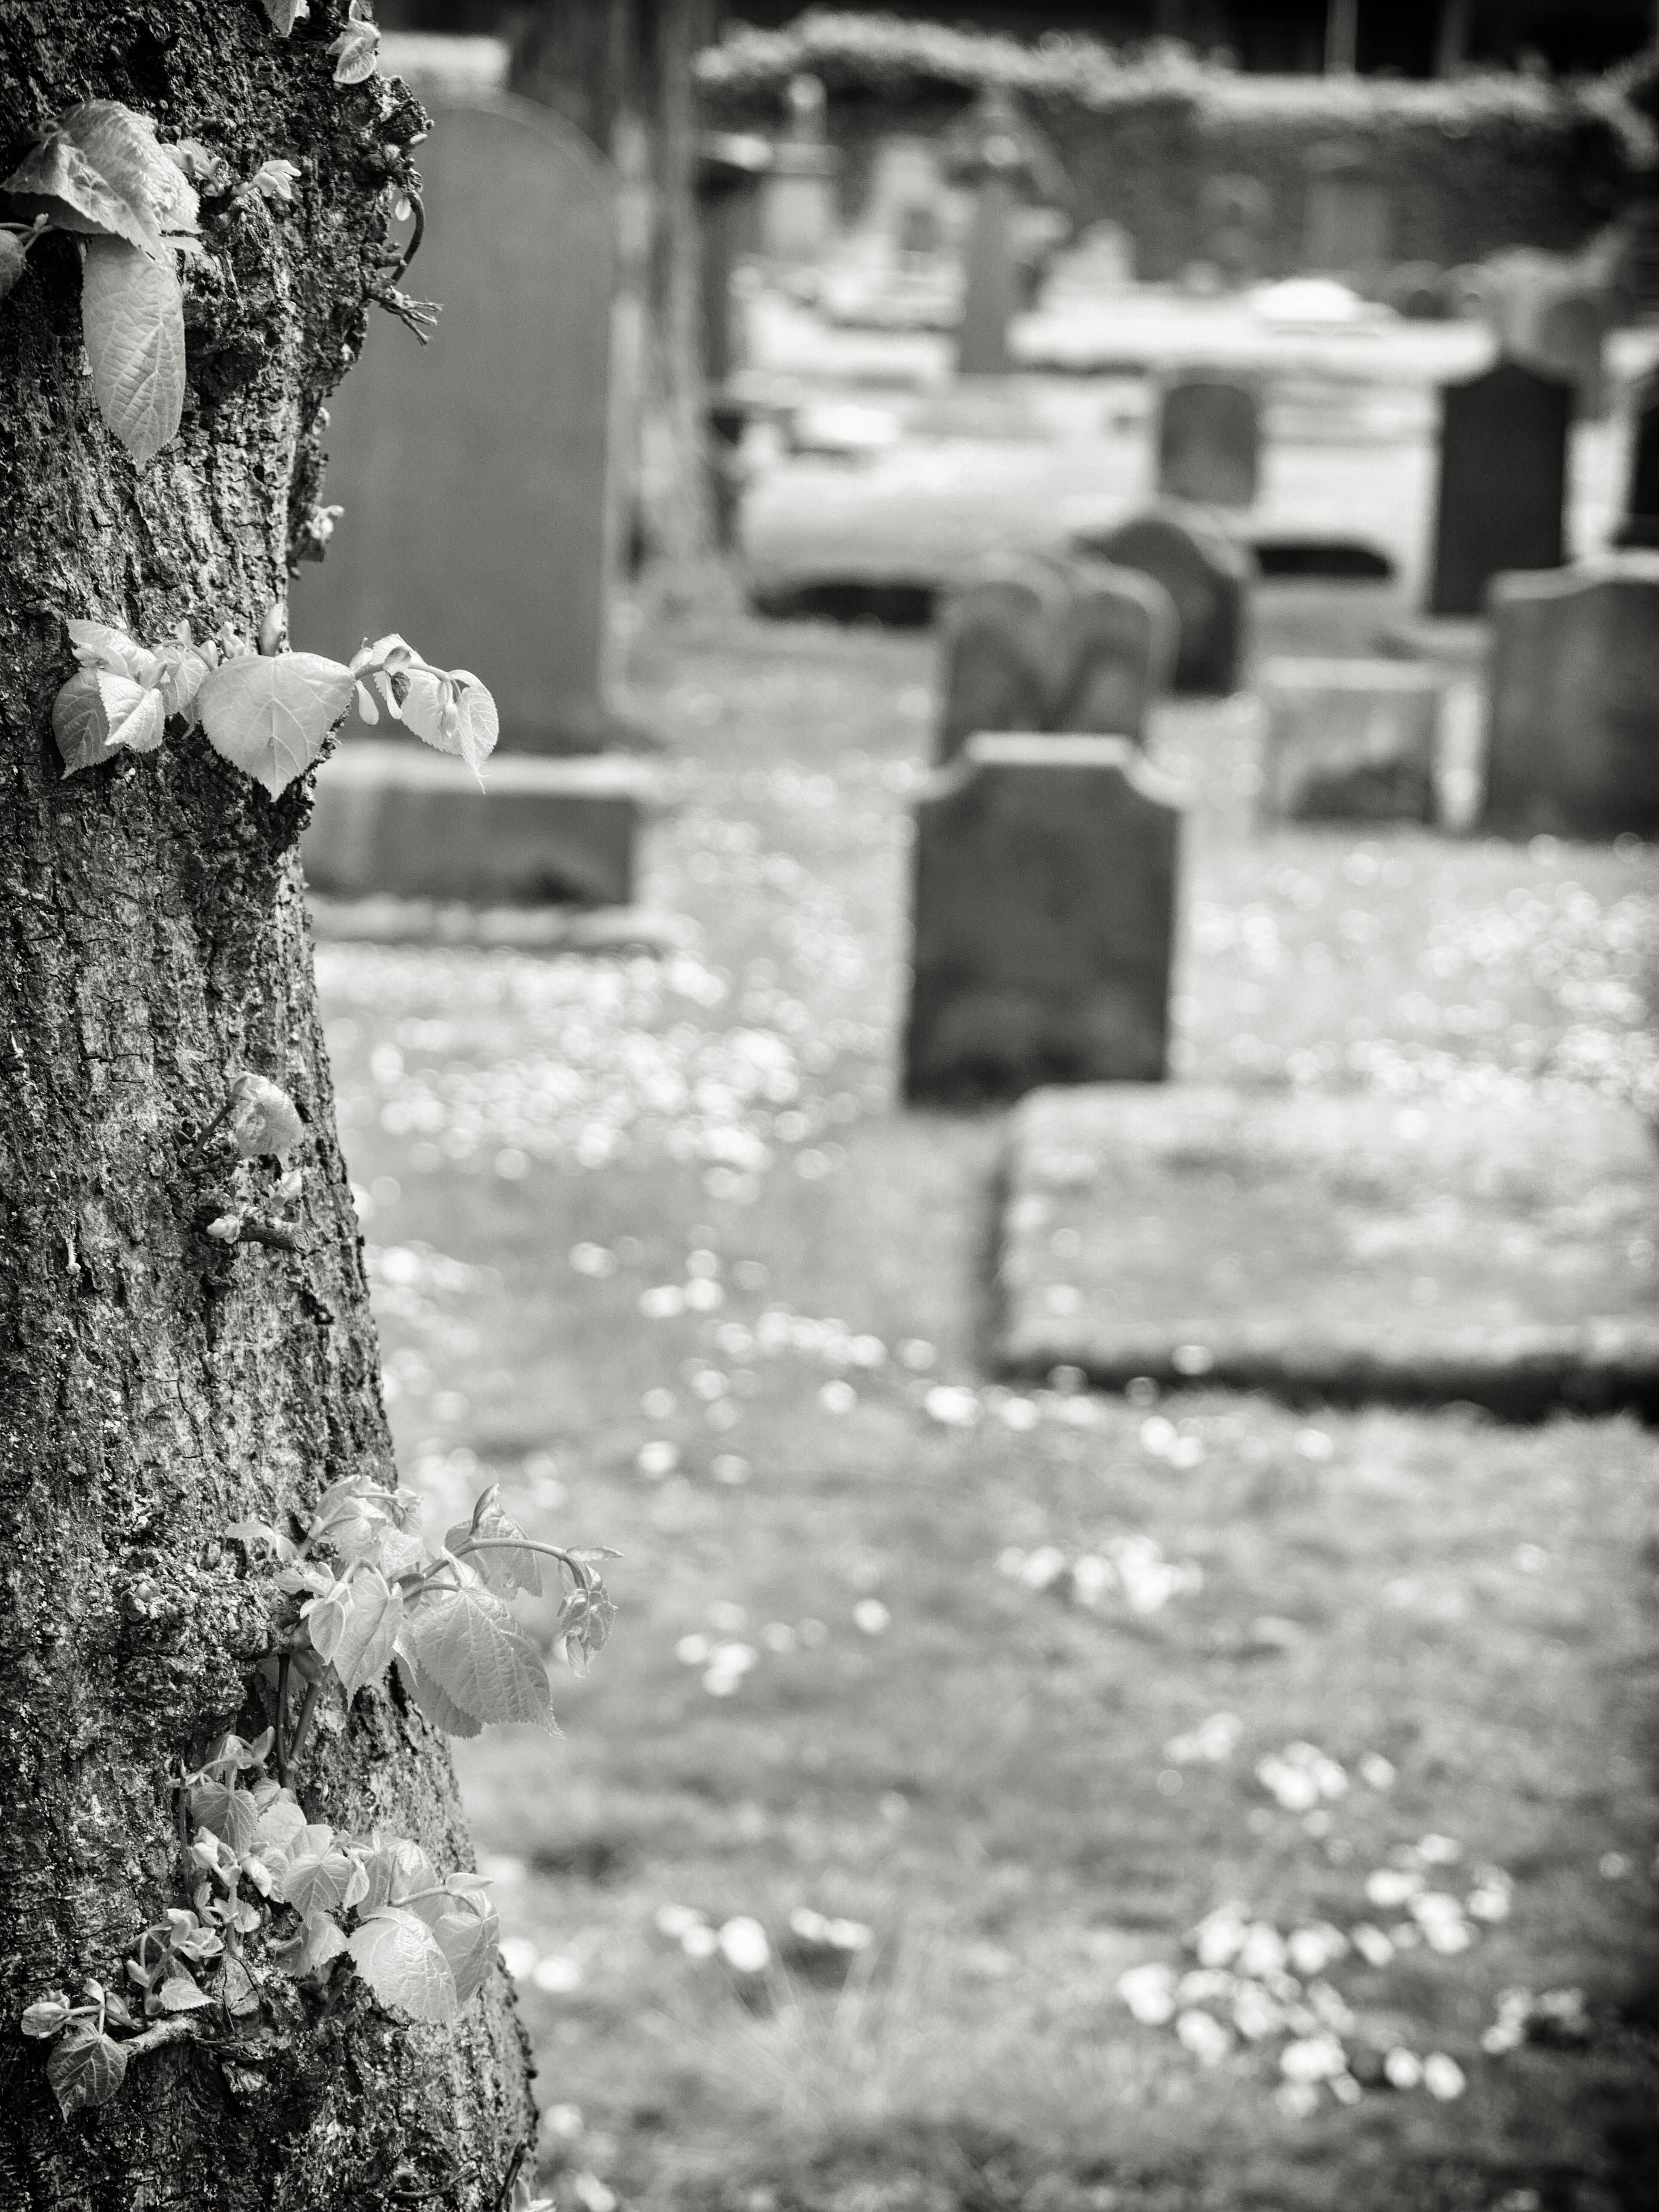
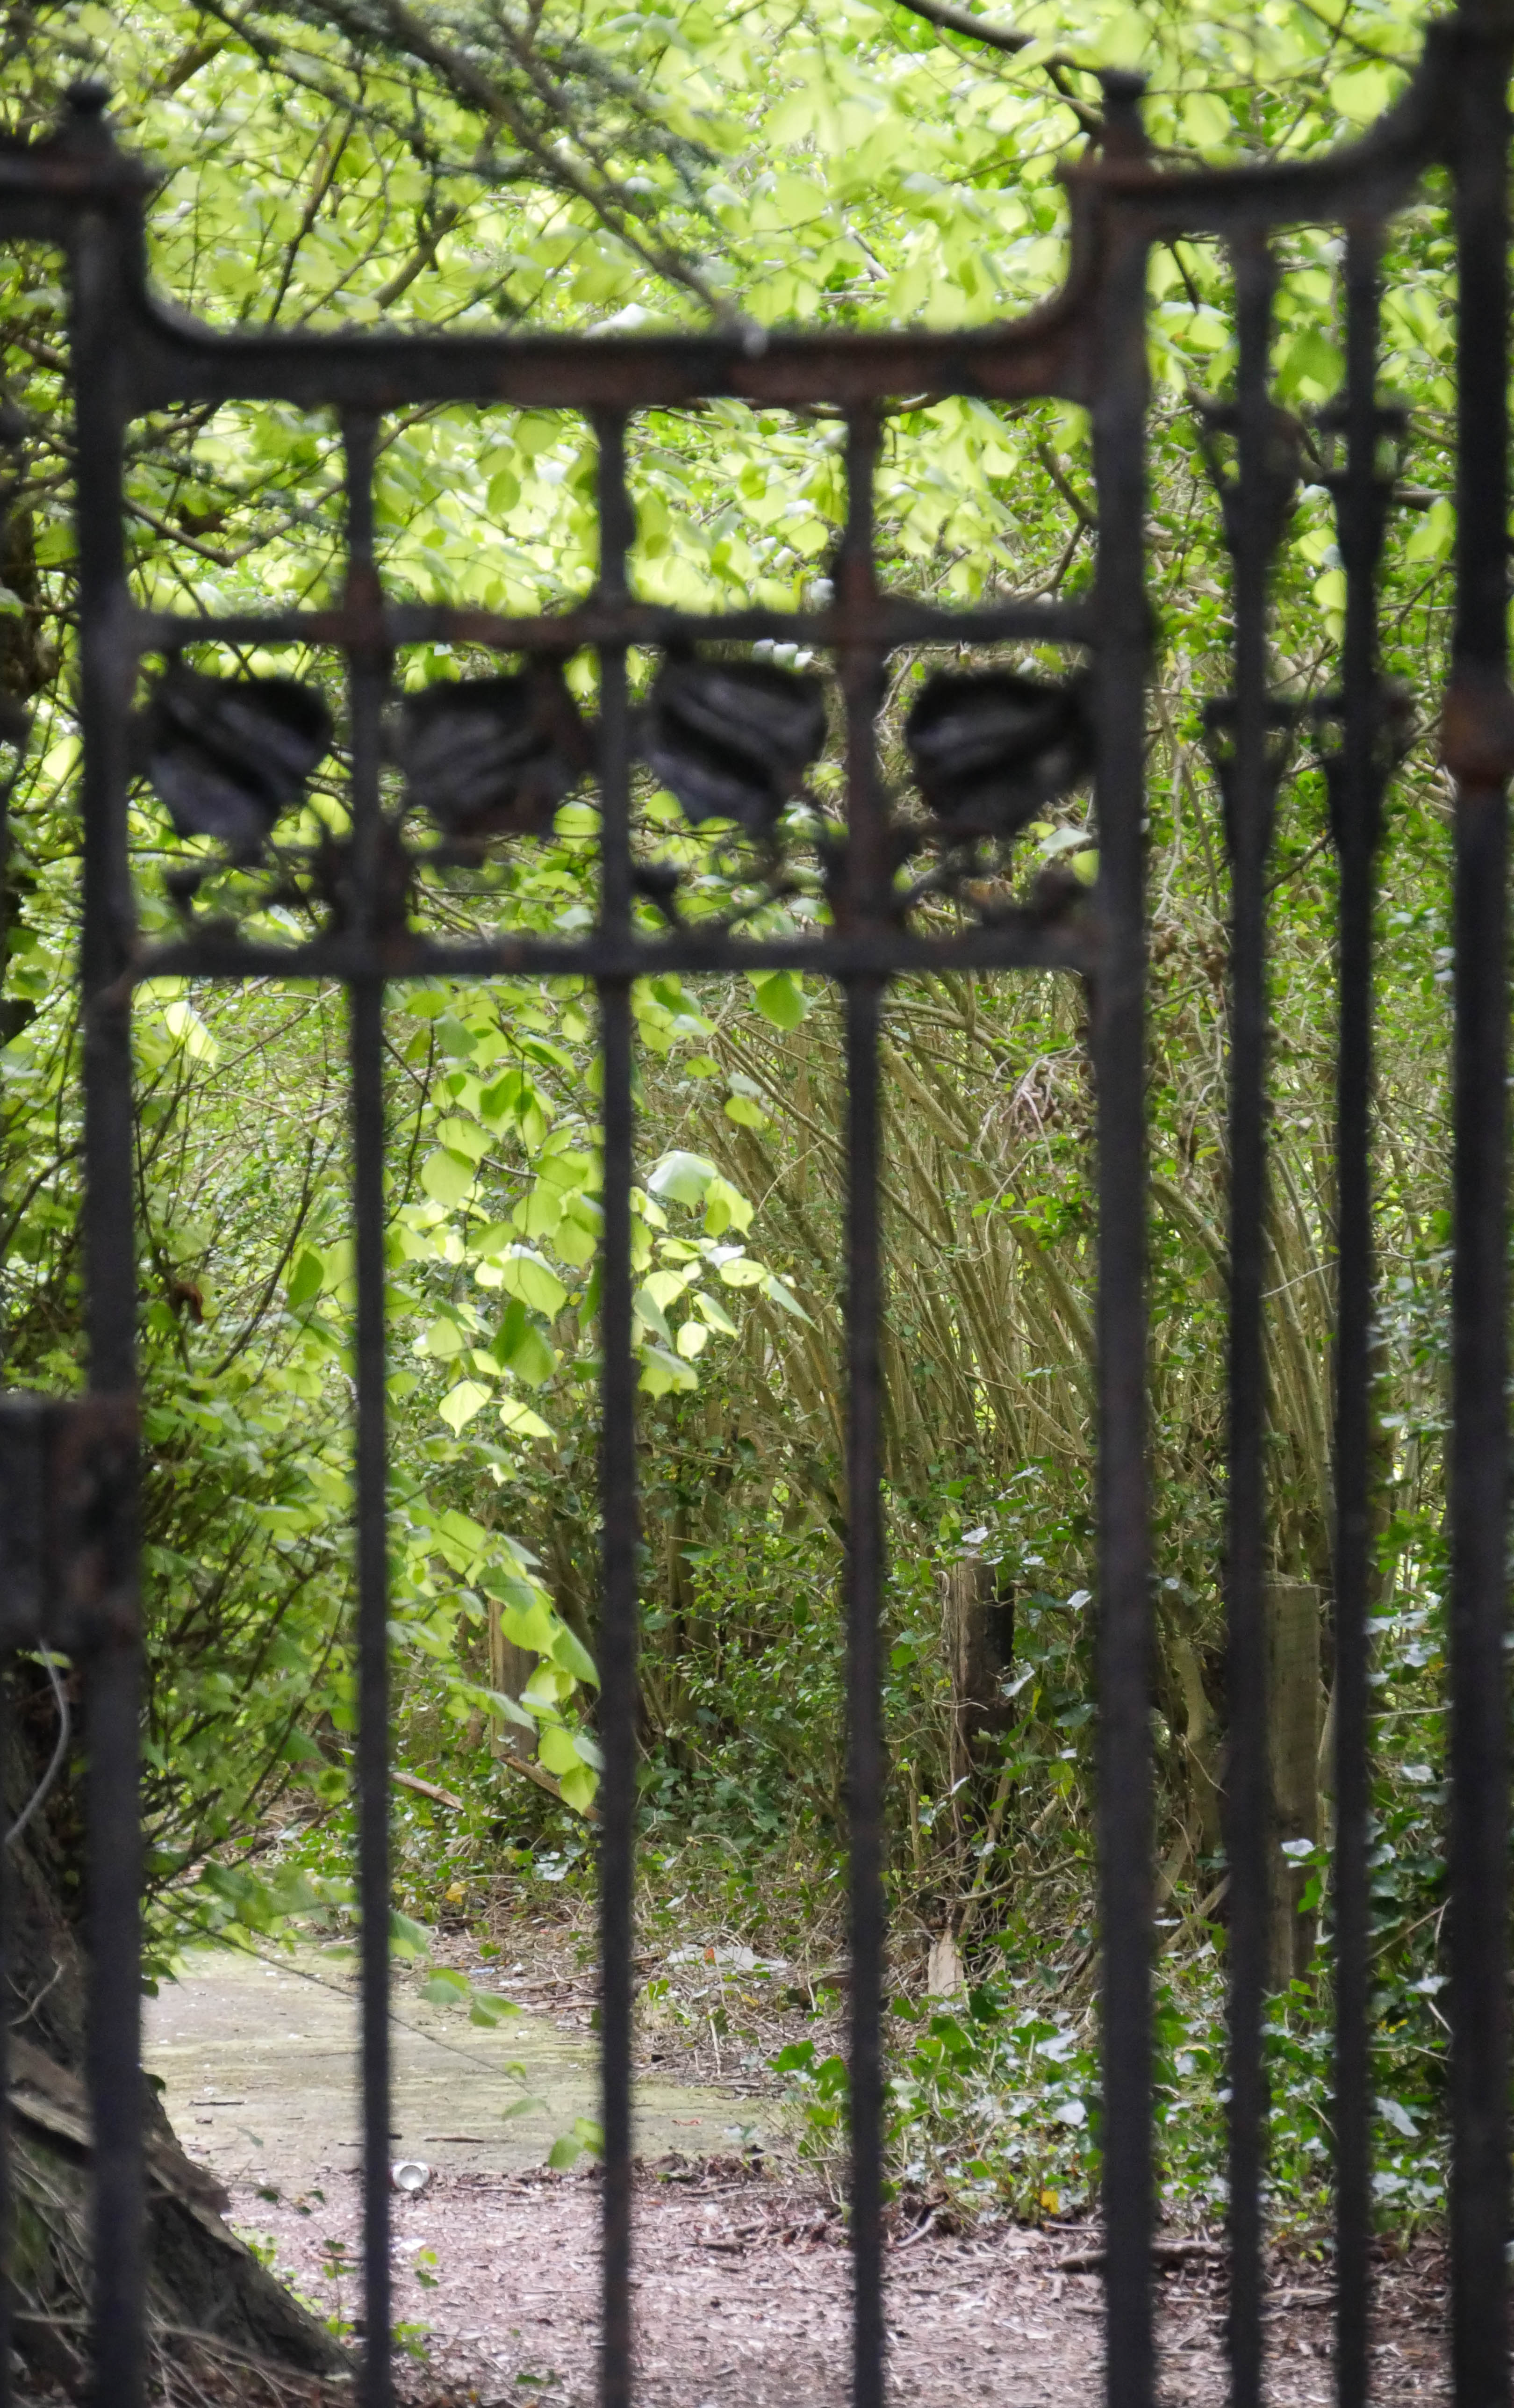
The processing in this set is the same, however I must have moved slightly when refocusing. I find both images interesting but they give a very different feel, when the focus is on the gravestones the tree simply forms a frame, when on the tree the image becomes more ‘dreamlike’ in quality, and, although the gravestones are not in focus, I feel it portrays the graveyard more successfully.
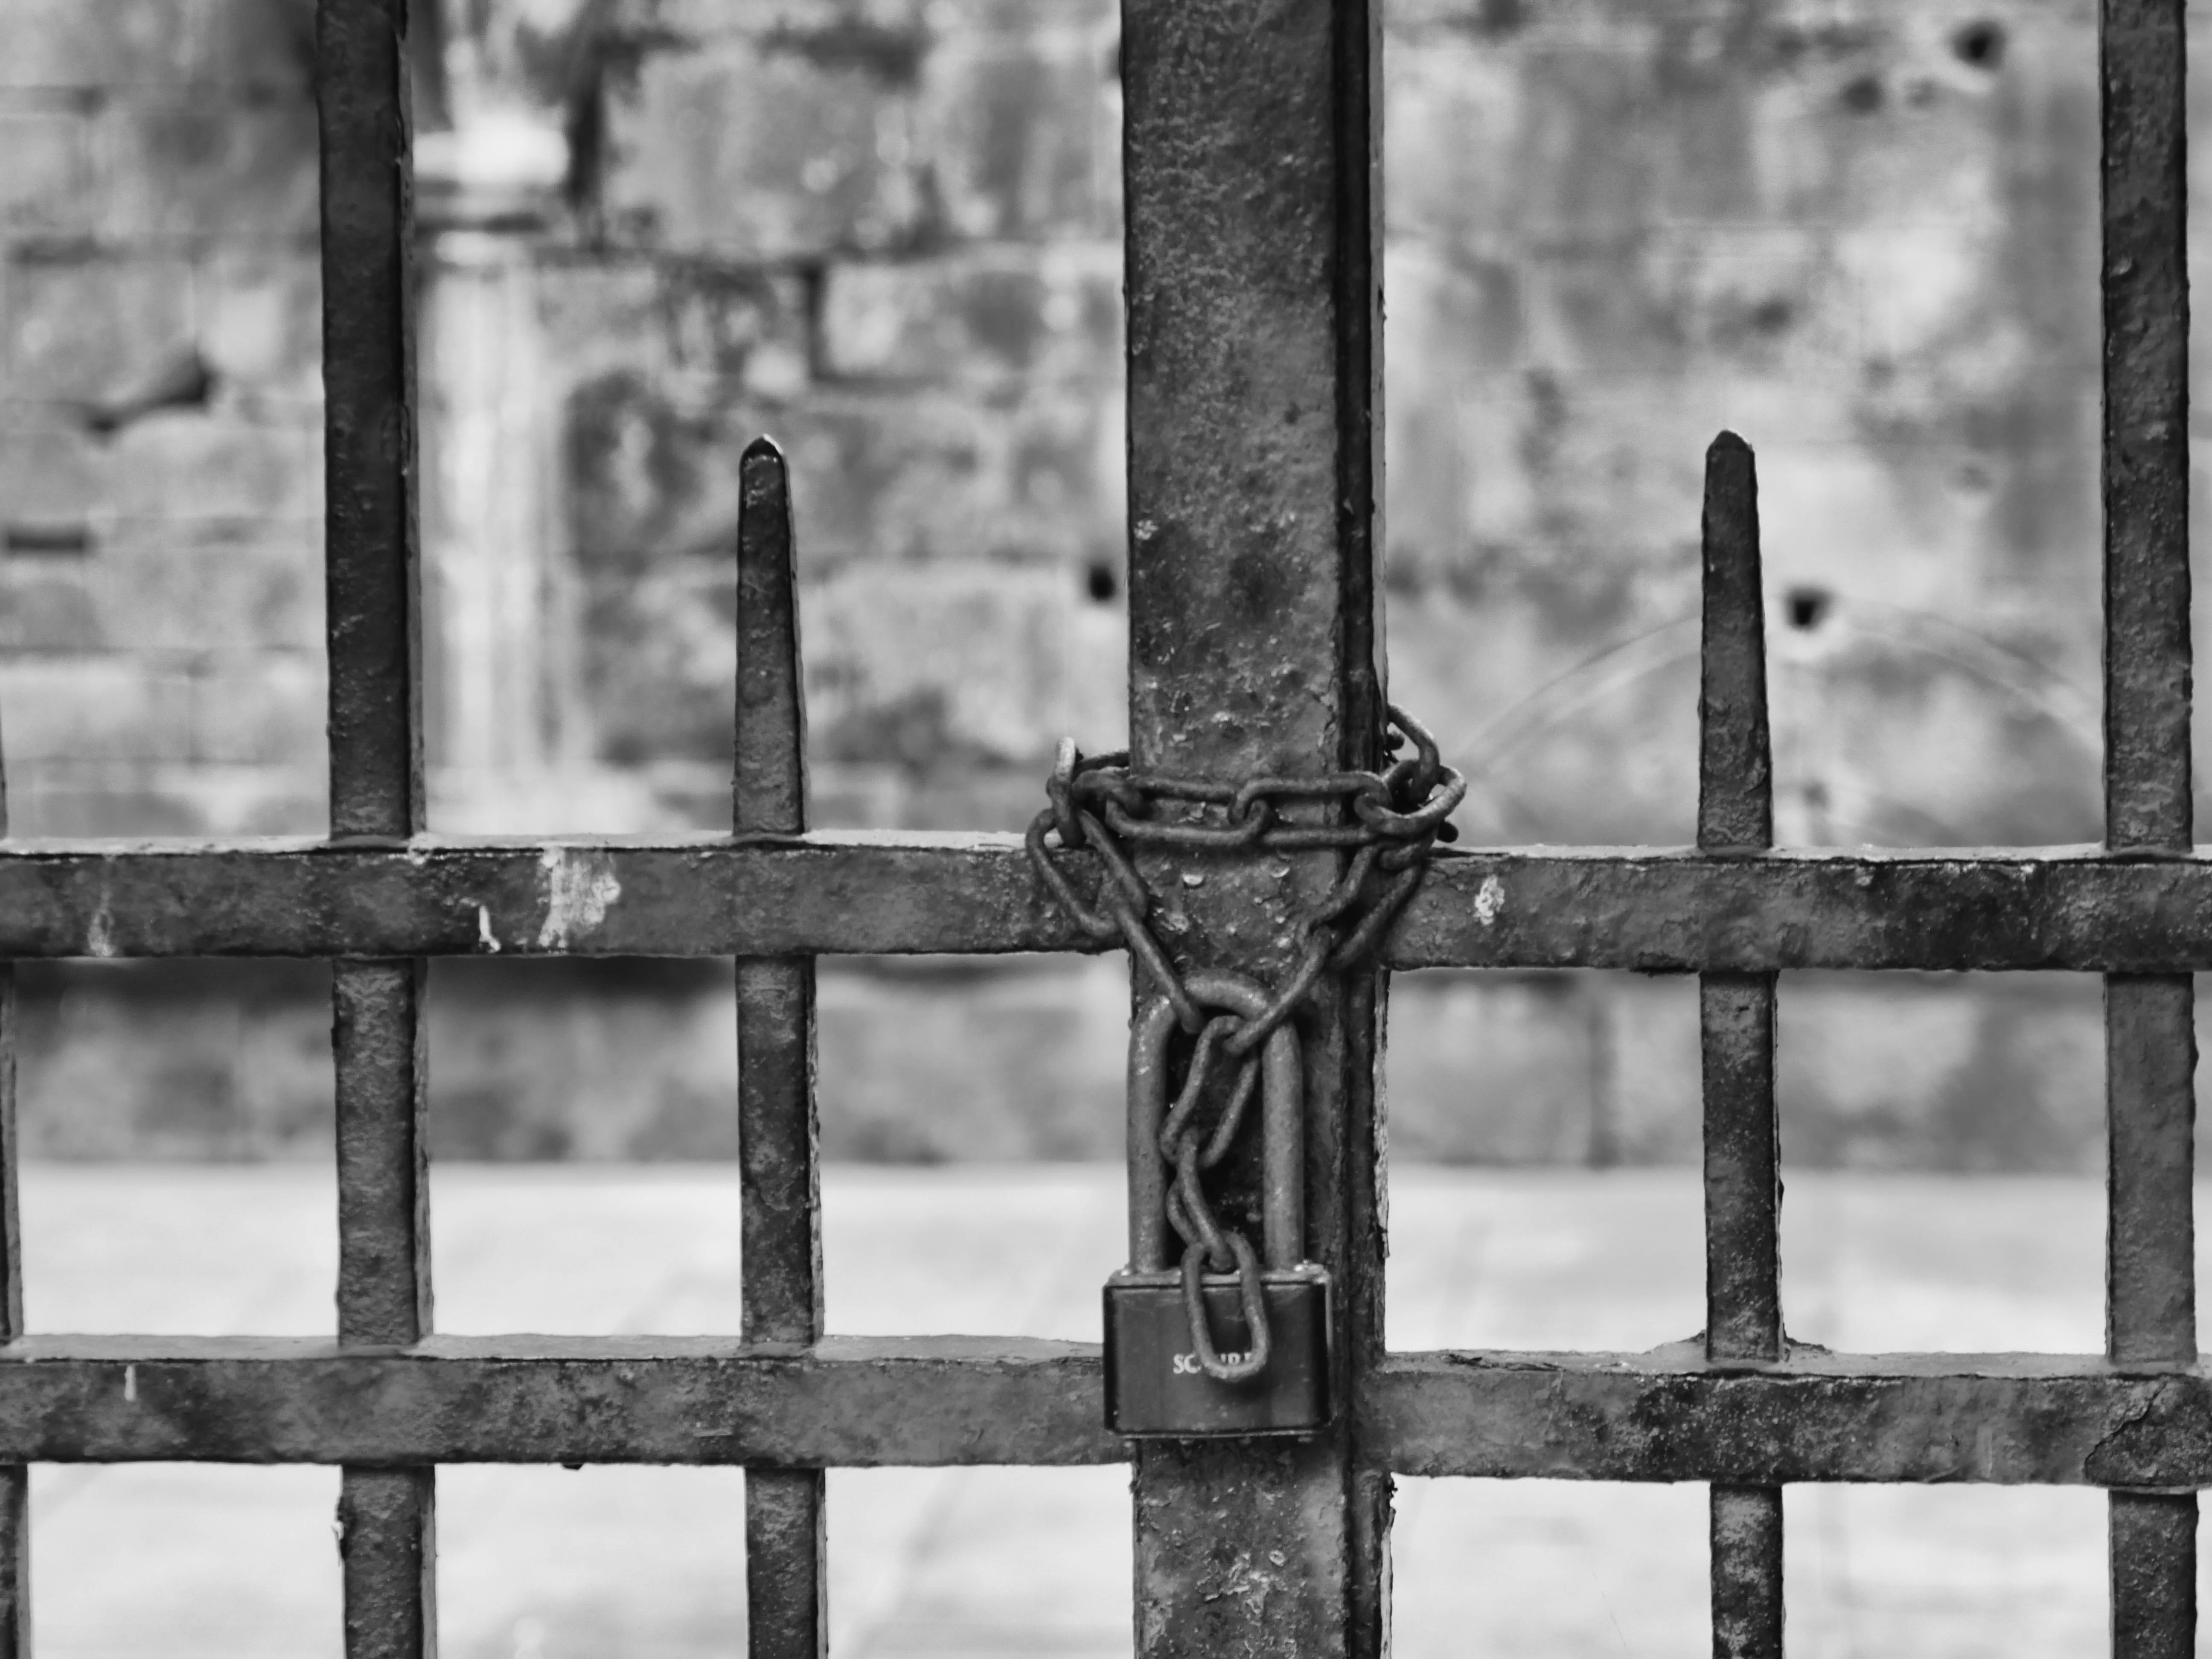
Further experiments confirm that the point of focus that gives the preferred image depends on the purpose of the image, not necessarily the closer or most obvious subject. The gate is more important in the upper set, while the path is more dominant in the lower set. In all images the gate acts as a ‘barrier’, locking you away, however the lower right image makes you feel as though you, or at least your imagination, is travelling onward.
1/125 sec, f/5.1, ISO 320, focal length 55mm
1/125 sec, f/5.1, ISO 320, focal length 55mm
1/200 sec, f/5.8, ISO 200, focal length 84mm
1/200 sec, f/5.8, ISO 200, focal length 84mm
Learning points:
be aware of the background as well as the obvious subject matter
focus on the important thing in the picture, not just the nearest
the background (even though apparently far away) may not be at infinity as far as the camera lens is concerned
sometimes throwing the subject out of focus gives a more effective way of showing it
if you want to keep your framing identical you need to use a tripod
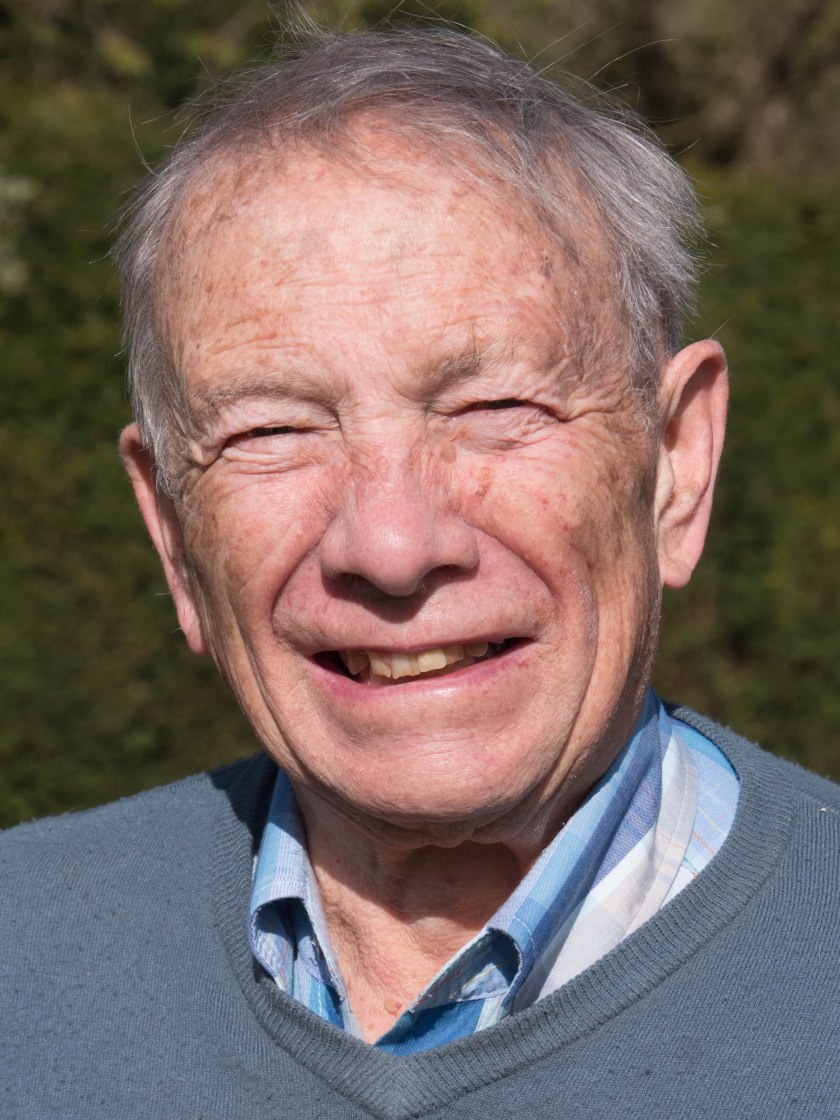
Find a location with good light and a simple background for a portrait shot. Use a wide aperture with a moderately long focal length.
1/800 sec, f/6.5, ISO 200, focal length 46mm
These settings give a very pleasant portrait shot, (completely unlike the one in exercise 2.3!). The eyes stand out well and the background is out of focus so not distracting.
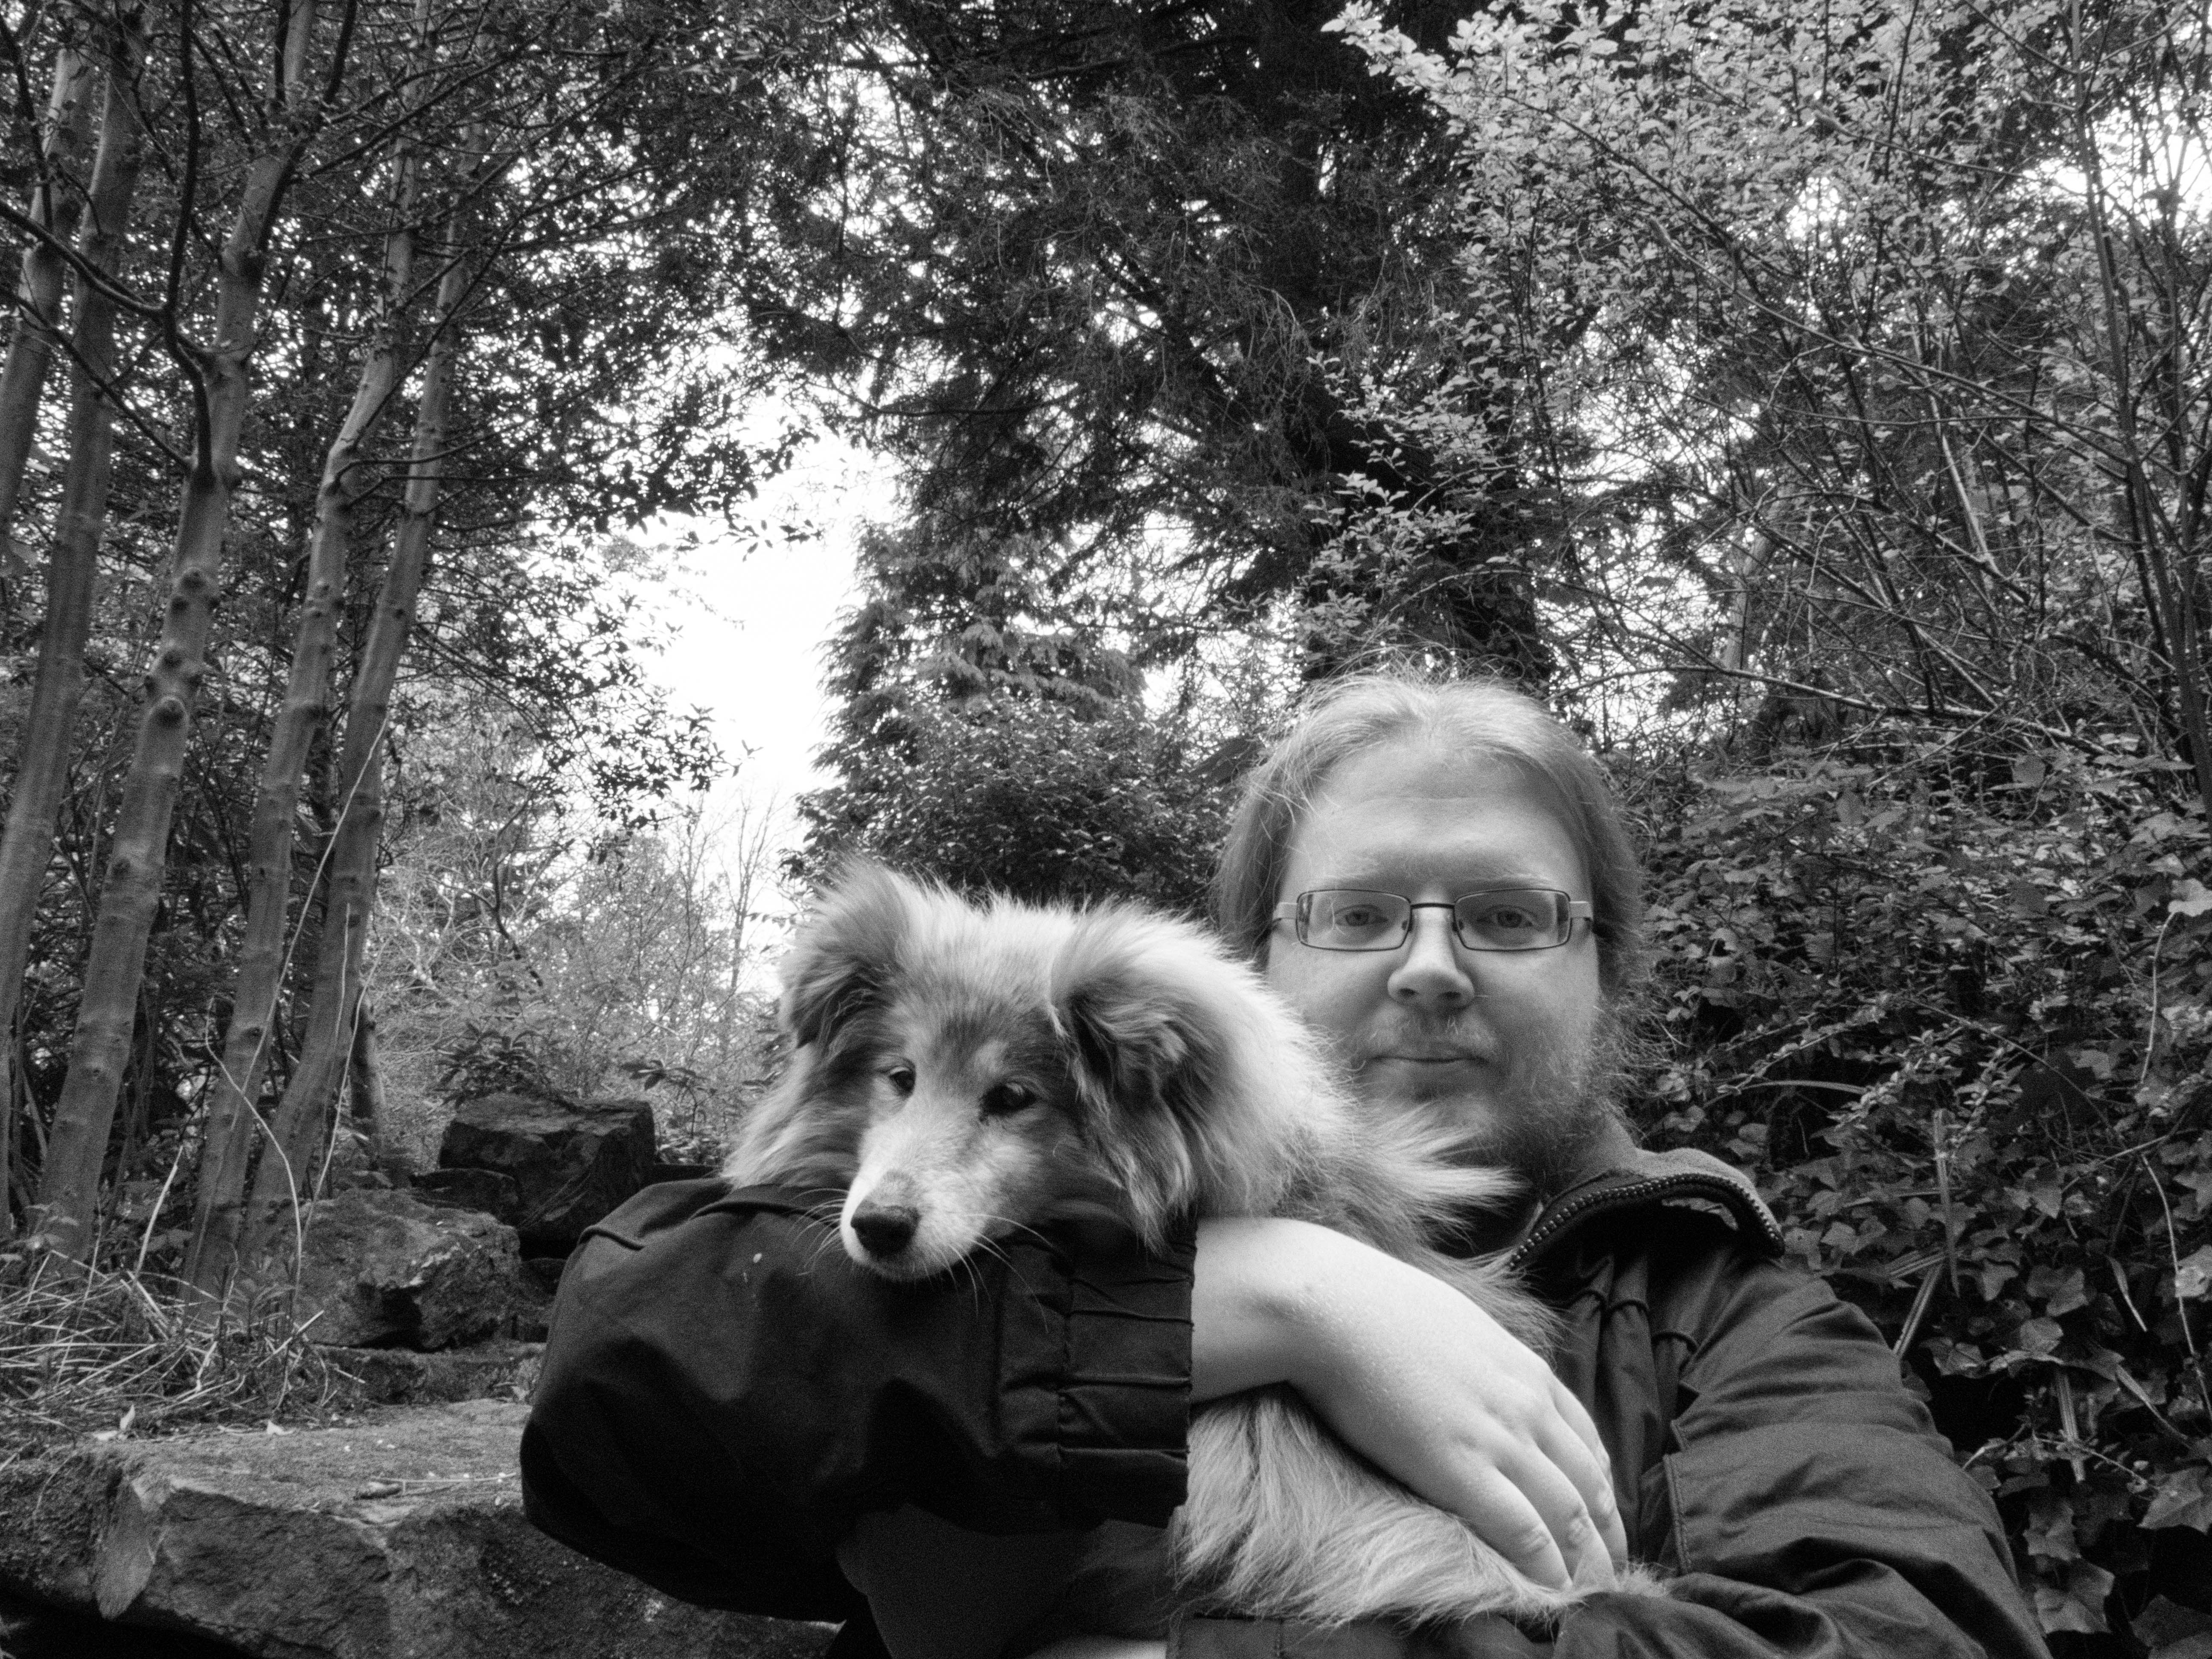
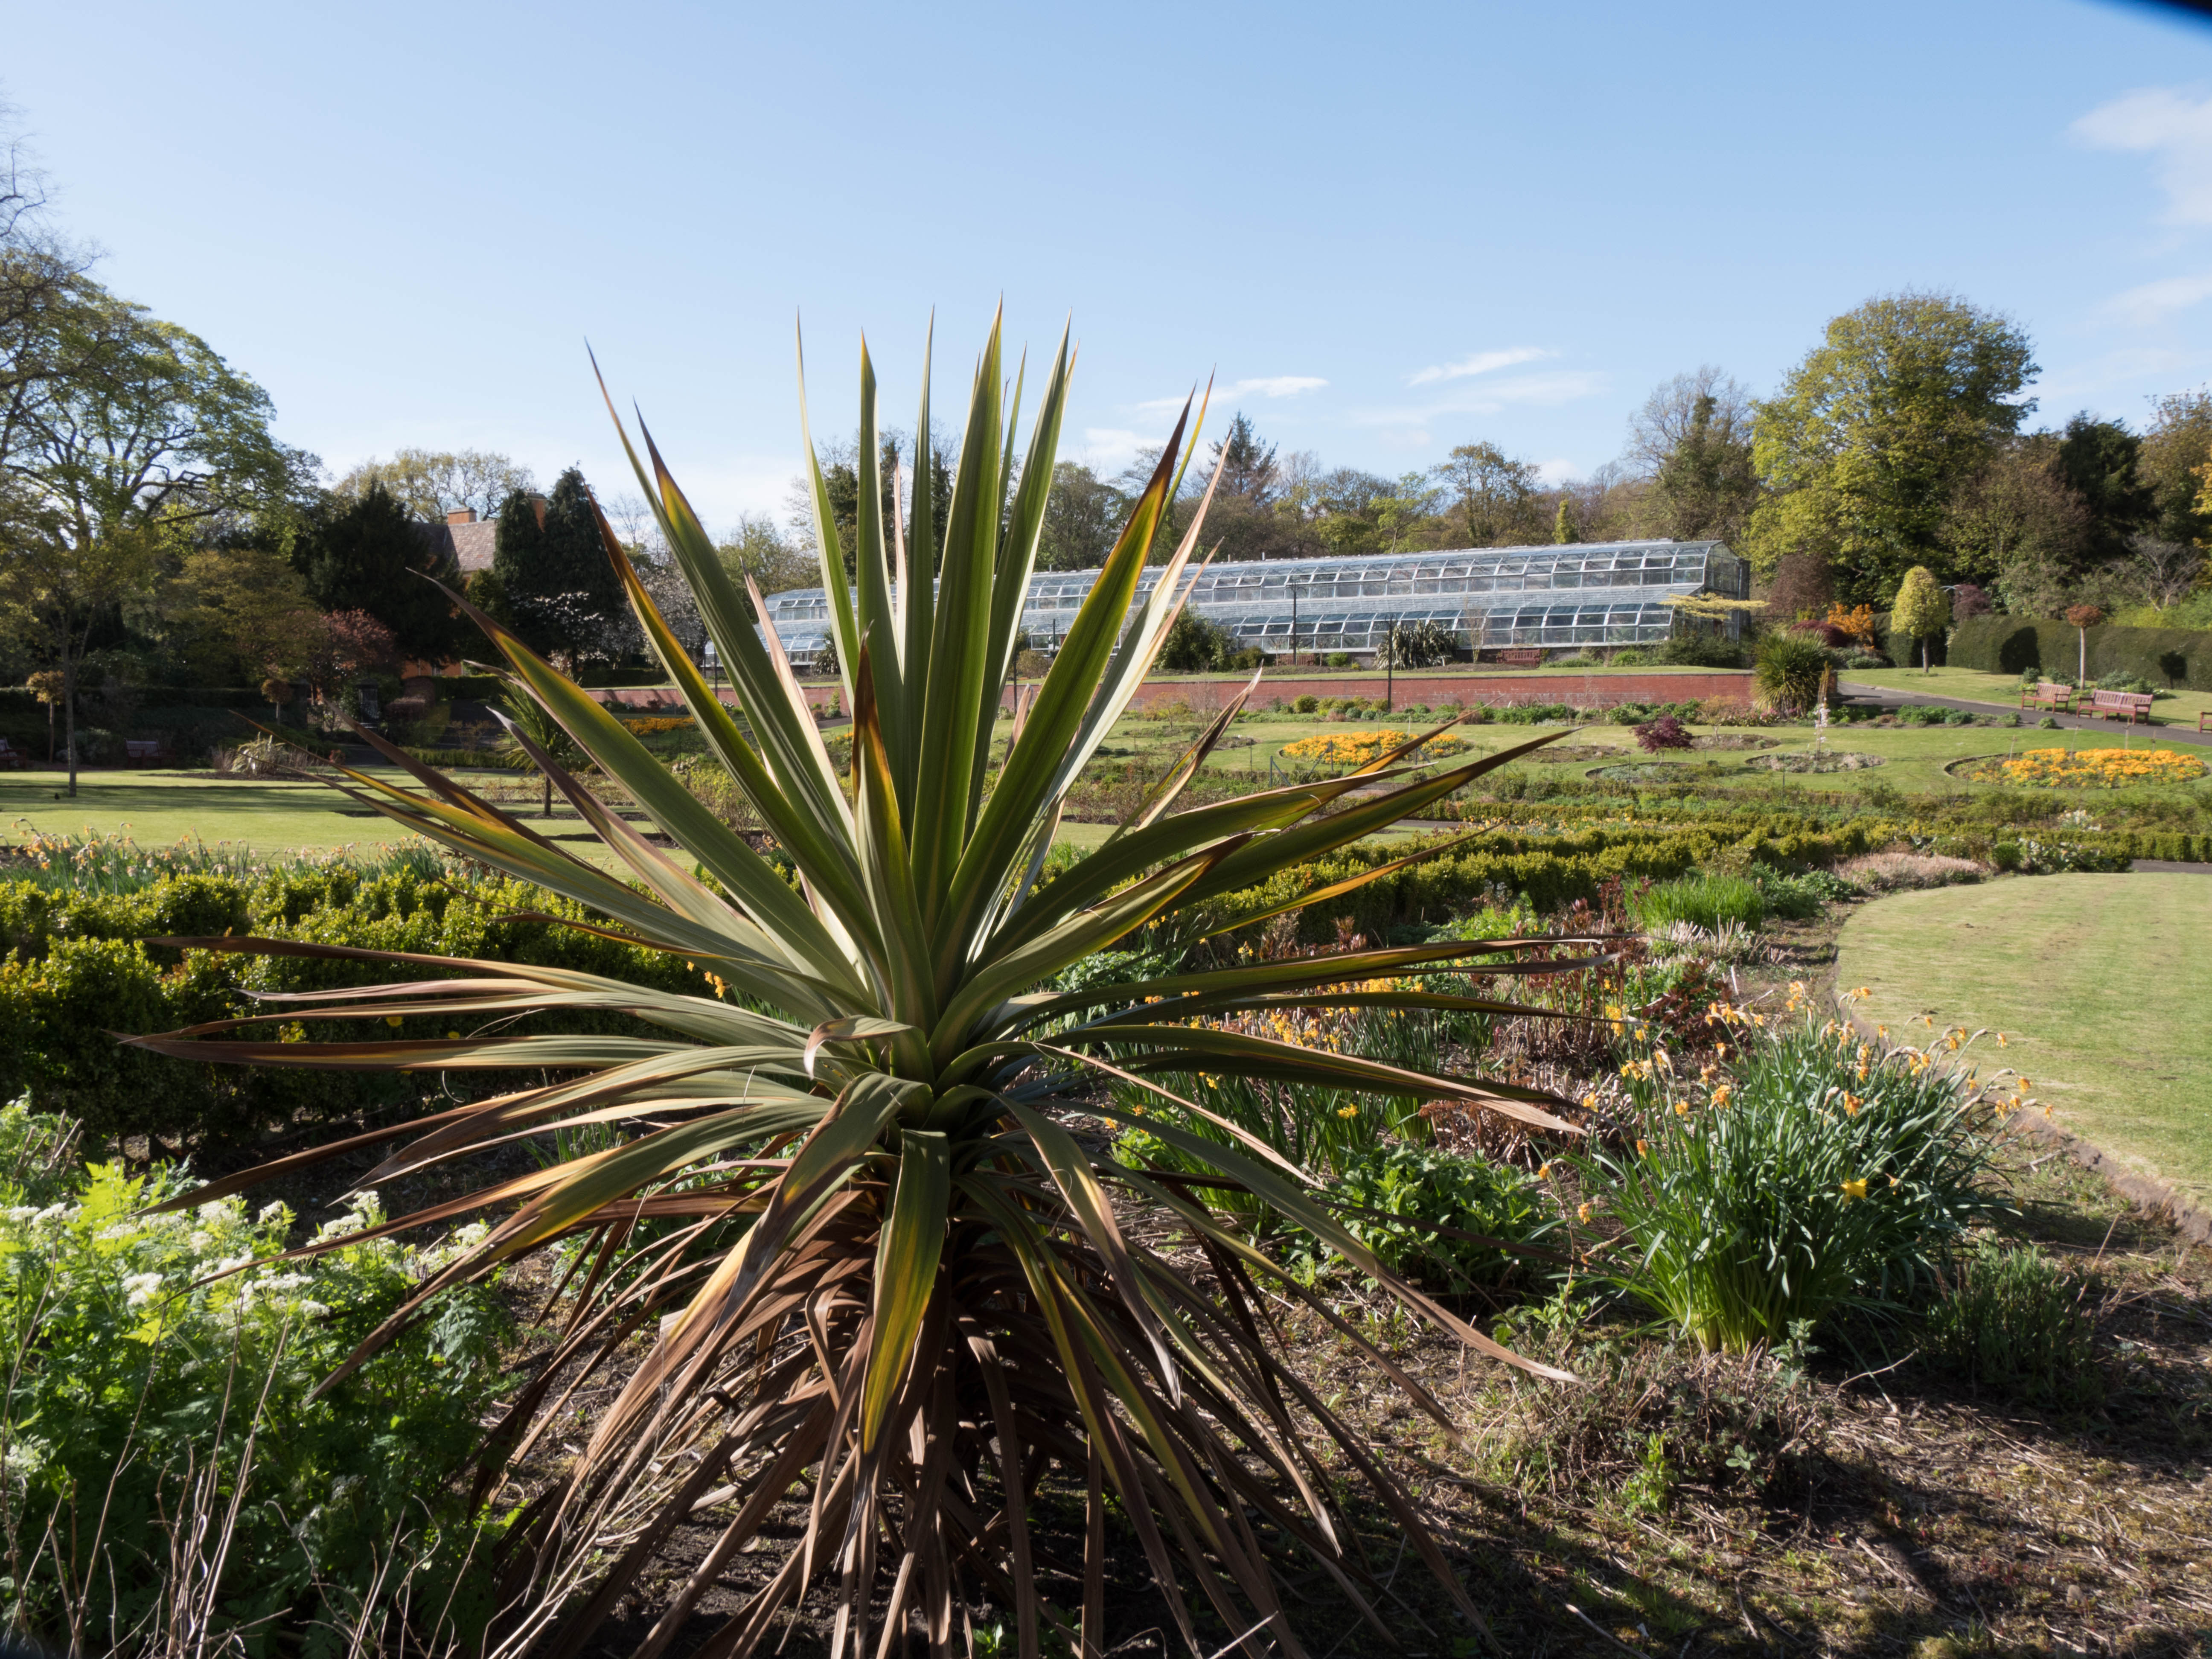
Choose a subject in front of a background with depth. Use a short focal length and take a low close viewpoint, look for perspective distortion.
1/60 sec, f/22, ISO 2500, focal length 14mm
1/60 sec, f/14/ ISO 200, focal length 14mm
There is clear perspective distortion in both images. The person and dog image emphasises the mans hand and arm at the expense of the face, and the dog’s nose is lengthened even more than normal. As noted in the manual, not a good look for a portrait.
The plant is a less disastrous image in that it does focus on the plant, seeming huge in comparison to everything else. If I had been intending an image of this plant alone I would normally have shot from straight on, or possibly gone even lower and tried to take against the sky.
Learning point:
be aware of distortion
if shooting wide angle you need to be straight on to the image unless the distortion is planned, for instance to emphasise a set of stairs.